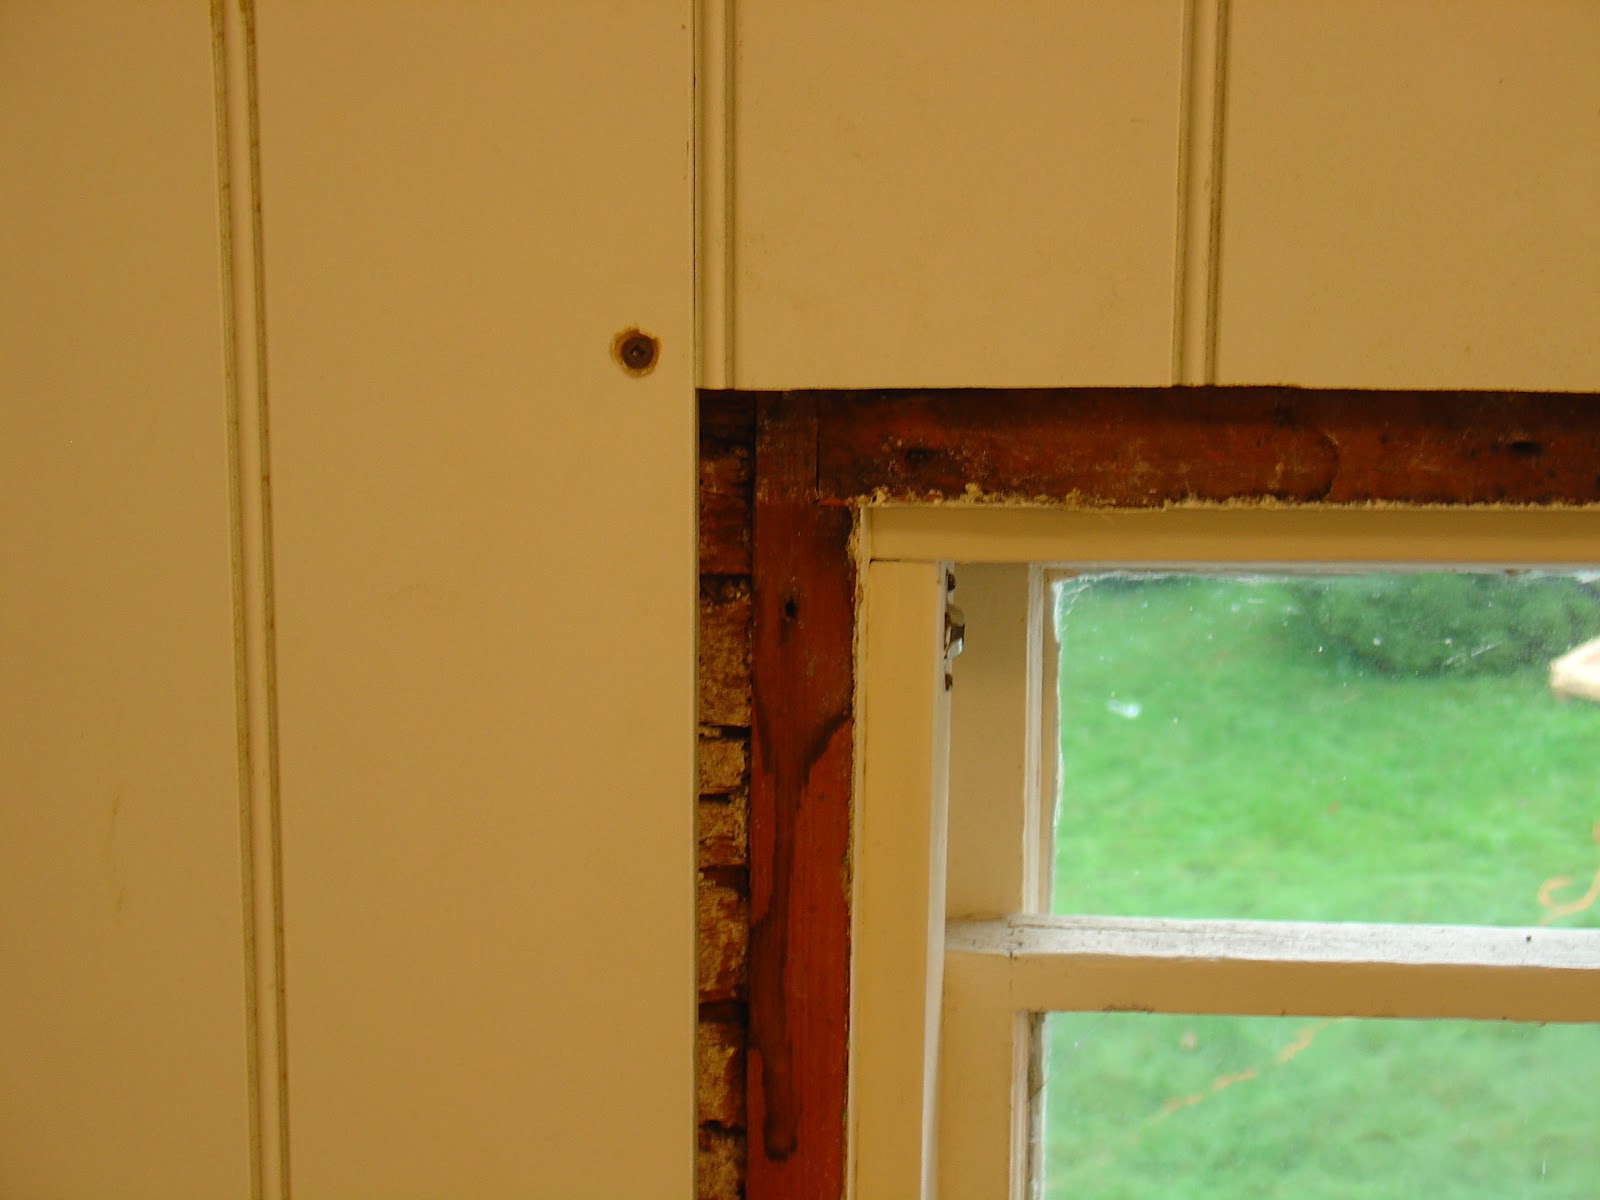
We had reached an important point in our bathroom renovation saga. Trim. I had more discussions about trim with our potential contractors than any other point.
When I started working on the concept for this project, I was adamant that we were keeping three things: the window, the plaster walls and the trim. Everyone looked at me like I was crazy about keeping the trim. "It's pine," one guy said. Noone seemed to understand that old growth pine is not like pine today. I gave up trying to explain at some point.
And this was months, months. So, when we finally got to demolition, I said to Dan. Just try to save the baseboard. He did. But so much had been cut out in different places, that it would have had to be pieced with new, and even I could see that it just wasn't possible to make new trim look like the old trim, and that future buyers would just see mismatched trim.
In the end, I realized that I couldn't reuse the baseboard in this room. It's all over the house, though, and so I saved it for re-use in other rooms. And, by the way, the wood is amazingly beautiful underneath the paint. Nothing like today's pine. See:
In any case, it did prove possible to re-use the window trim. So the day we worked on trim, that was where we started. First, a few shots of the window without its trim, after the beadboard had gone up:
But before we got into the window trim replacement, Dan set up a steam box. One corner of the room is curved. The original baseboard was scored and bent. We would have used it, but it was shorter than the replacement base, and the bead was different. Dan wanted to use rubber.
"There's this rubber you can buy," he said, "it bends to make curved base."
I, politely, demurred.
He, even more politely, listened. And promptly went about figuring out how to bend wood. Turns out you do that in a steam box. All this conversation happened the first couple of days on the job. Without my realizing it, the gears in his head were working away on this one. Every time we went to Home Depot, he'd pick up a few more pieces for his steam box.
Then, the night before our trim day, he set it up. The basic concept is a piece of tubing that attaches to a pot of boiling water and conducts the steam to a closed box. Inside the box is the wood that needs bending.
He started by hooking up the tubing to an old tea kettle. Nothing. I hear him and Capel yammering away about it. This and that. This and that. "I think steam rises," I hear Capel say, tentatively, "maybe you want to shorten that tubing and raise the box." I stay out of the room.
Next morning, Dan says. "You have an old paint can lying around?"
"Oh, I just threw one away," I say. Now that was unfortunate. It was hanging around for a whole year and I just got fed up and pitched it out.
Next thing I know, Dan's in his van, headed for Home Depot again. He comes back with an empty paint can. I'm somewhere else in the house at this point. There's various sounds of banging and heavy objects being moved, rattling, doors slamming and last, water running.
After a long silence, I venture into the kitchen, timidly. Whoa! Genuine science experiment time.
In case you missed it, that's a paint can on the stove, fired up like a boiler, with copper piping on top hooked up to a clear tube. Lots of jokes about stills going on there.
Outside, there is equal experimentation going on. He's hammering and sawing away, and slowly a form takes shape, the exact same shape as the original base we pulled off the wall. Here you see the back of the original base, fit to the new form:
Here, the original base, sandwiched into the new form:
As I snap these shots, a piece of the new baseboard goes into the steamer, unbeknownst to me.
Now, finally, about midday, we actually start working on installing trim. Back to the window.
First, we even out the bit of the windowsill that had to be cut off with a saw. Here you can see the side that was run through the table saw, to make it nice and flat, where it will reattach to the window.
Here's the side of that same piece:
Oops, back to the steambox--the wood that has been steaming is all ready to come out of the steam box. Next thing I know, it has been slapped into the form and wrestled down with umpteen clamps:
While that is cooling, back upstairs we go, to the window. Dan has decided to shim out the necessary space with blocks, rather than solid wood, to make it easier to match up the surrounding pieces. So the first piece that goes on is in the middle of the sill:
Next, that bit of sill gets reattached to the block:
Then, the other three sides are shimmed out with wood along the sides and the original trim is reattached:
And, finally, a new piece of wood is added to extend the top of the sill and--in this case there was a bit of shoe molding across the sill, which is also added back.
We're all done, and the window looks virtually like it did before it was taken apart. I'll have some sanding and puttying to do. But aside from that, this one is back the way it was.
Next, Dan starts on the cap. For the cap, we've chosen a trim that is identical to the new base but shorter, inverted it, and capped it with a 1x something that has been ripped down to 2 inches. It's plain and suits the house.
Dan is meticulous. The ends are mitered and the angles are coped.
And then, much later, the first of the baseboard goes in.
Then, we had a hitch with the curved trim. Turns out that we put it in the form backwards and curved it the wrong way, on top of which it had been fingerjointed and the water soluble glue solubled, so to speak, and pulled apart in two places at the fingerjoints. So, we pulled that one out of the mold. It promptly sprang back nearly an inch.
"I'll have to over-correct," Dan says, forlornly, and goes about sawing up more bits of wood to make the curve of the form more pronouced. Then we hunted around for a two foot section of trim without a fingerjoint, steamed that, and clamped the whole thing all over again.
Midway through clamping, there is an ominous cracking sound and splinters appear at the point of deepest bend.
"Well," Dan says, "we'll just have to wait and see." We finish clamping it and leave it in the middle of the kitchen floor. It'll have to sit there overnight.
By this point, it was about six in the evening. Capel comes home to find us intent on the trim in the very last corner.
Dan has been coping all the trim where it meets at unusual angles--most of them are unusual, because nothing is level. Here is a bit that has been coped:
Here you can see how it goes in place. The coped part fits up into the corner and can be shifted left or right, depending on how out of level the wall is:
Once in place, the coping is invisible. It looks like a regular 45 degree angle cut. Nifty!
And with that, the trim is done, except for the curved piece that comes out of the form tomorrow. It's been more than thirteen hours since starting time.
The last thing, before we head to wash up, is to move the tub from the room across the hall, where it got stashed the day the movers brought it up the stairs.
And, after all our worry. Piece of cake. Slightly anticlimactic, even.
I think Dan is wishing for some hot water right about now. Me, I'm getting a first glimpse of the room we imagined. The tub is pretty against the tile, with the beadboard behind it. Better than I thought!