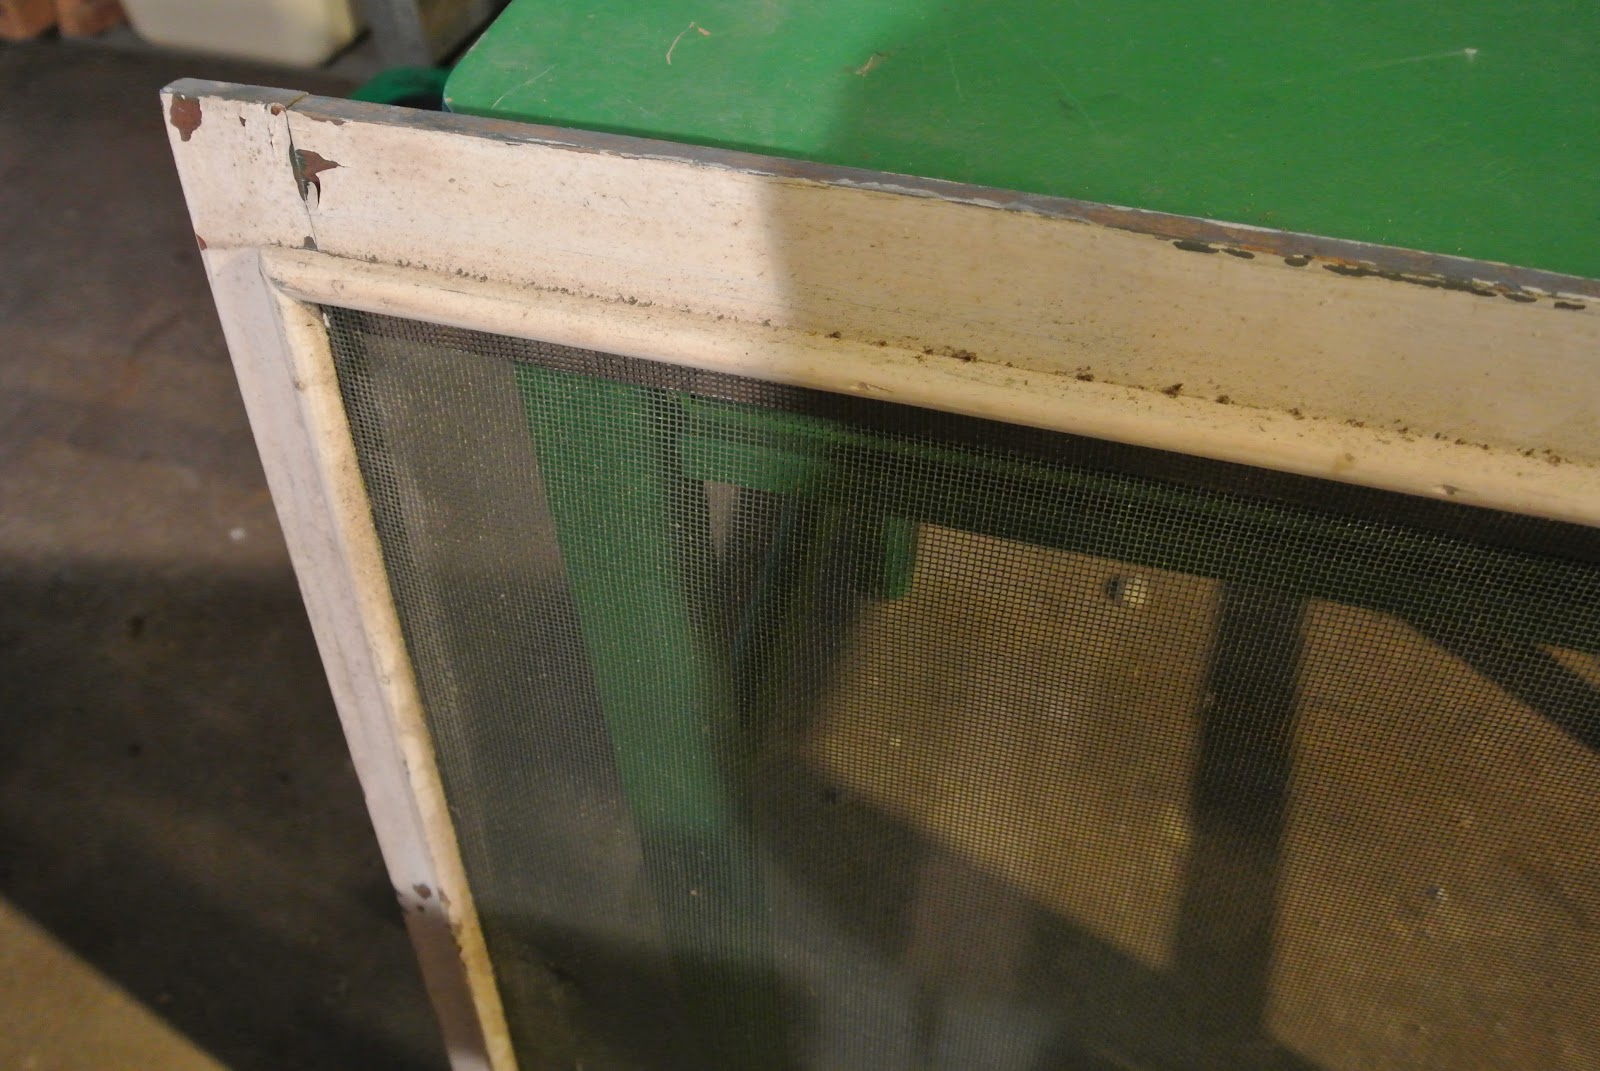
This is going to be a long post with more photos than text, I hope. But the bottom line is that I waged a long and losing hand-to-hand battle with crabgrass on the patio last year. This year I intend to try a different tactic, though I am not particularly sanguine that it will work. Still, as you will no doubt agree by the end of this post (come on!), anything is better than digging crab grass out with a teaspoonhandle.
Crab grass germinates when soil is between 50 and 60 degrees. On the east coast, that is approximately after forsythia blooms and before the lilacs.
What I have learned after a fair amount of research over the winter, is that short of bombing the whole patio with round-up, which I am not willing to do just to solve a crab grass problem, my problem could perhaps be solved over time with diligent applications of pre-emergent herbicide, which in theory would prevent the crab grass seeds from sprouting. Corn gluten is a naturally occuring pre-emergent herbicide that is rumored to have some effect. Well, to be more specific, there are people who say it does and people who say it doesn't.
Corn Gluten is applied at 20 pounds per 1,000 sf right around the time when the forsythia blooms. It needs to be watered lightly after application, but if there is heavy rain it will get washed out and be ineffective. Also, there seem to be disagreements about whether the powder or pelletized forms work better.
So, to make a long story short (the long version of which is below), after a lot of work digging crabgrass out by the roots last summer, I have decided to try the corn gluten this year, and of course, now being a "blogger," who'd uv thunk it, I am planning to share what is sure to be season two of a losing battle with anyone who cares to read about it.
But to start, I need to bring you up to date.
Here, then, is my own personal little saga of my hand-to-hand war on crabgrass last year and the reason why I won't use round-up.
August 8, 2012
We have now lived in the house a full year. And what was, in early spring, a beautiful patio with tiny, pretty little pale green blades of grass poking up in between the cracks, has become a sprawling many-legged monster, something like a living shag carpet that just won't let up.
I, finally, get frustrated enough to try to do something about it, and start to work--having been well trained by my mother--with a teaspoon handle. Here you see the very first little patch of cleared patio, on the lower right.

Here, a neatly cleared corner. You don't want to know how long that corner took to free from the monster. More than a single day, I am fairly certain.

Here are two corners I didn't work on: we'll call them northwest corner:

And shady, wet southwest corner:

Now you're getting a handle on the problem, oh boy:

And here is my lowly instrument of torture. Not the teaspoon end of the implement, mind you, it's the handle I use to dig out all those tiny weeds. Plucking each one out by plunging the handle down under the roots, levering out the weed, saving the moss as much as possible, sifting the resulting dust and putting it back, and covering it back up with the moss:

My mother is going to laugh when she sees this, as will my sisters (I have three of them). She used to put us to work cleaning the grout in the bathroom with a toothbrush and cleanser, because she didn't want to use bleach and destroy the grout. I'm sure whatever gene it is that controls this behavior, I got from her. Although, to give her her due, at least she was using the brush end of the toothbrush, not the handle!
September 1, 2012
I'm back on the patio and after several hours? a whole day? I don't know, some good amount of time anyway, weeding, I start to feel the sun on my back, the birds at the feeder, the joy of the flowers and sun and the concentration and flow of a job that takes long-focused minute attention but not much thought. This is why I like to weed. Yes, I do actually enjoy weeding. Here, for me, is where poetry starts. I hear at the birds, I feel the slight feather of their wings fluttering past, I've been crouched on the patio so long they've forgotten to notice me, so I slowly slip into the house and get my camera and start to shoot:


Then it's back to the grind:


The bits I've worked on:

The monster corner under the bench where there is more water and less intense sun and the weeds just go gangbusters:


This bench, by the way, was somehow secured by Martin from the 1939 World's Fair in New York. It's a bit of history in my own backyard. One day not too, too long from now, I'll replace some of the rotted wood slats and spruce it up. But for now, it is lower on the list than rotted wood on the actual house, or the defeat of the weeds.
There is a peace to working on the patio in this minute way. I work for a long time, totally focused. Then I look up and the yard is filled with sun and care and fluttering things everywhere. And I think of a verse that my father used to quote (probably still does): "I will lift up mine eyes unto the Lord, whence cometh my strength."
September 16, 2012
There is a method to my madness I haven't yet mentioned. It's called creeping thyme. My first sortee in this battle (short of just pulling out the crab grass), is to replace the crab grass with creeping thyme as I go. I had actually planted some fairly early in this process, I don't know when, perhaps in that early August timeframe when I first took photos. Here is my first photo of the thyme in place and already having grown across and around a couple of bricks. It's working! I crow, delighted.

Here's another bit of thyme, surrounded by a bit of cleared patio and a much larger sea of weed:

And in one spot, a whole tiny fleet of mint thyme, set upon a sea of cleared brick:

And ... the ever encroaching crab grass. It actually has a logic of its own with endless spiraling arms that shoot in every direction from its circled center and from there joint and root and joint and root. Yes, now you can tell how much time I spent looking at that crab grass!

And the shady area, under the 1939 World's Fair bench, which is a problem ecosystem of its own, because it's shady and damp and not a good ecosystem for thyme. I wait to weed it, pondering what to do:

Taking photos of the ever growing weeds:

Left to their own devices, they will ultimately swallow the patio whole:

Yup.

And here is my first line of defense, the lowly thyme:

So, to prove it's not all insanity, patio, actual patio, cleared!


And thyme, creeping

elfin thyme ...

And, finally, I start to shoot photos of the reason I will not use round-up. There are many lovely and beautiful and non-invasive tiny creatures in the patio. Here's one, a slender, minute grass that springs up only when there is damp:
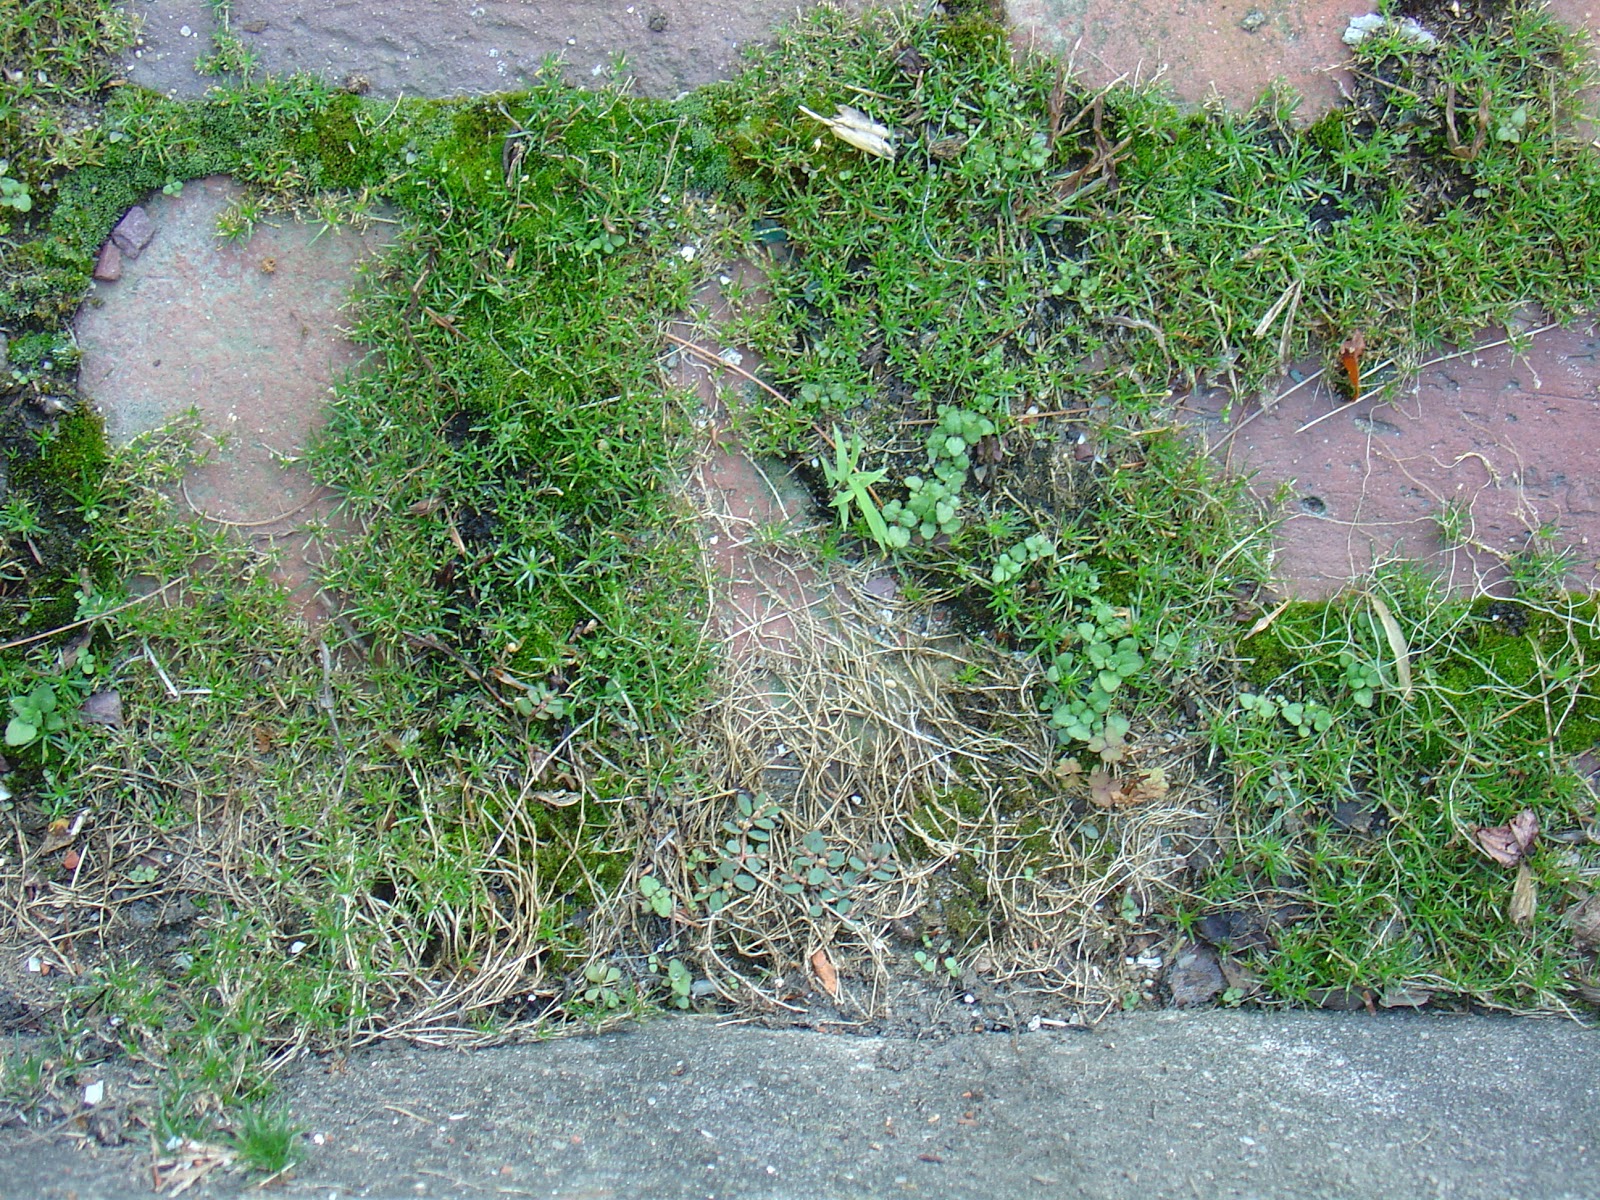
Another, nameless, pretty plant.

And, now, I have done some research and gone to Rosedale, my local nursery, in search of low groundcovers that like shade and damp for the corner under the bench, and decided on this one -- a bright yellow green:

It needs to co-exist with a more fussy, delicate and not very fast growing beautifully emerald green plant that seems to be native to the ecosystem under the bench, but only in the one corner where it is wet and shady most of the time:

And that, was the extent of my first foray into the war on crab grass for the summer of 2012.
January 12, 2013
Mid-winter. I survey the patio. Last year's crab grass has died. Yay. This year's crab grass has not yet sprouted. The parts of the patio I never got to weed last year are still covered with dead crab grass. It's only marginally more attractive than live crab grass. I sigh.

The thyme is holding up, some anyway,

There are bits of thyme that have taken hold:

Here is a good view of the ecosystem without crab grass, all many-colored green with mosses and tiny little plantlets of no names:

And a close-up:

Another:

March 1, 2013:
The thyme has not all survived. Or, perhaps some is still there but dormant. I don't know. This bit of thyme has survived and its "evergreen" leaves are red. Yay, I think, it's still there. There is hope.


________________________________
For an update on the patio, see my May 16 post here.