Thursday, February 28, 2013

How to make wood window screens 4: Other models

In my last post on this thread here, I showed the original model for our house's wooden window screens.

On blogs elsewhere on the web, there are a few other designs, mainly for screen doors. Since every house is different, and since I couldn't locate any photos of actual original wooden window screens on the web or in books when I was trying to figure out whether I could make my own, I have photographed three other screens that I found in the basement.

They don't fit any of my windows (so then, why are they squirreled away in my basement? Who knows?), but of course I kept them, like some other pack rat before me, and they might be helpful to others.

For each of these, I subsequently went back and did posts with close-up detail for each, with links below.

Alternate Model Number One:

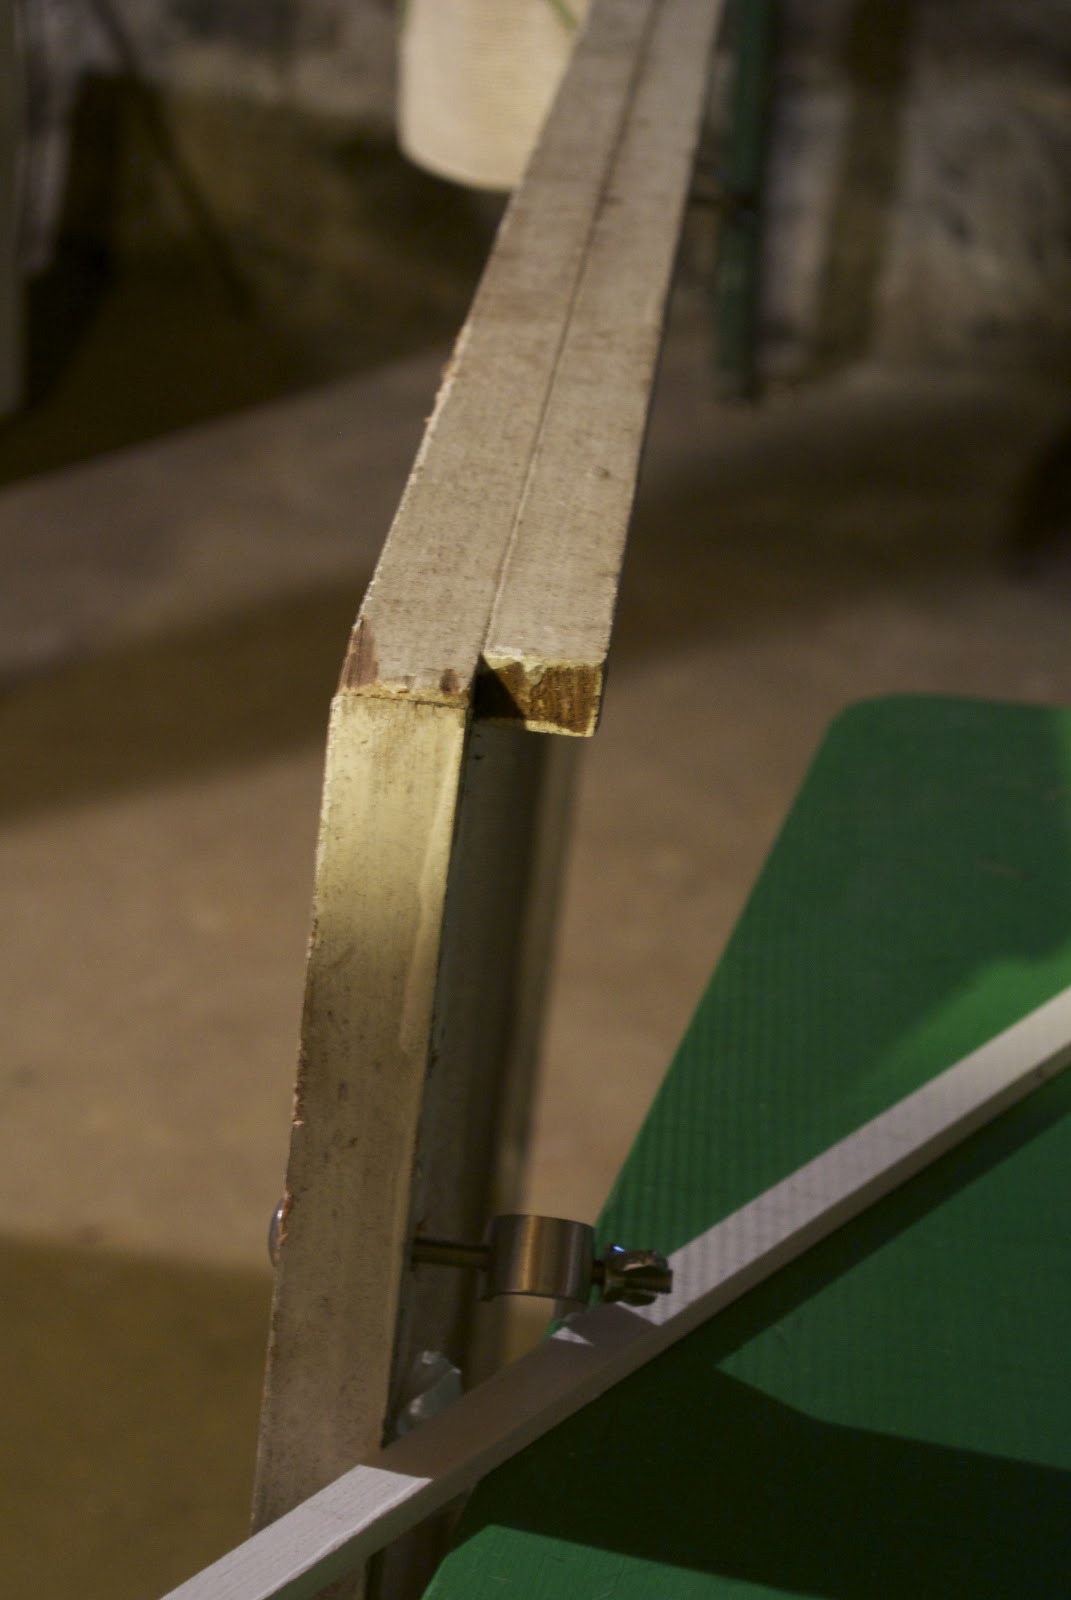
Here is one that is made without mitered corners. Stuck onto what I think is the back, on the top, is a very different kind of bug stop, a header of beadboard. Perhaps used to hang the screen? Or to slip up underneath a half-storm? Maybe as a part of a two-part screen for a double-hung window? I don't know.


Now we're looking at what I think is the front of the screen above. The screening is held in place with strips of what looks like shoe-molding. I have seen instructions for making a screen door elsewhere on the web, and the screening was held in place in this manner, so this is another option, different from our original model. There is no need to rabbet out the frame with this design.


For more detail on this model, click here.

Alternate Model Number Two:

Here is another, similar screen that uses the same type of shoe-molding trim to hold the screening in place, but this time, nailed to the front of the frame:


Here is a back view of Number Two. The corners of the frame are not mitered. I don't know how they're held in place, because there are no angle-fasteners. Let me go downstairs and investigate again. But before I do that, I will point out that this model, like my original, has a projection from the back that presumably fills in that gap between the blind stop and the meeting rails (as described in my last post on window screens).

And bingo! This frame is held together with tiny little dowel rods. Two on one end of each corner. That was the construction we settled on for ours (obviously not by investigating our own alternate models!). So, when I come to the post on constructing replacements, I'll take a close-up of this construction.


For more detail on this model, click here.

Alternate Model Number Three:

This is a beautifully made, square screen. It is very similar to my original model except the corners of the frame are not mitered. And, the trim that holds the screening in place is a prettier, patterned bit of trim.


The back of Number Three shows the now familiar projection, this time made of shoe-molding turned upside down, that looks added, as an afterthought, unpainted. And the corners of the frame are fastened with an angle fastener, like Number One.


For more details on this model, click here.

And that's it. Three alternate designs for wooden window screens. Have at it guys and gals!


____________________________________________
For the entire series on making wooden window screens, click on the category "How to Make Wood Window Screens Series", in the Topics list along the right-hand side of the home page. There is also now an index tab at the top of the home page, listing all the posts in sequential order, with a link to each one.


Tuesday, February 26, 2013

Old House Hardware: Wooden Turnbuttons

Pugsley Place has two wooden turn buttons that look hand carved. One is still being used to fasten an interior window. The other is down in the basement, loose. I'll show you photos of both.

One of my upstairs closets (clearly not originally a closet) has a window that swings in on hinges. It's held closed with a wood turn button:


In the basement, I found another. Hand carved. Beautiful. Unattached. I have no idea what its provenance is, but it is gorgeous, so I thought I'd share it:


Sunday, February 24, 2013

How to make wood window screens 3: Original model

This post details the original model I used to construct my own screens. To see the first post in this series, go here.  For the just previous post, go here.

Before I show you how we made our replacement screens from wood, I want to show you how the originals are put together.

Here is the front of one of our original wood screens:


As you can see, it is made pretty much exactly like a picture frame, with mitered corners. If we zoom in on a corner, you will see the construction more clearly:


The miters are held together with a corrugated brad (something we tried and abandoned, as you'll see in my post on making the replacements). But what I want you to zoom in on now, is the small strip of wood that holds in the screen. You can see it better from this angle:


The frame of the screen has been rabbeted, the screen laid into the rabbet and a narrow strip of trim laid over the screen and nailed in flush with the frame to cover the raw edges of the screen. We weren't sure exactly what it looked like underneath (still aren't, because we haven't taken one apart), but when we went to make our own, it was pretty obvious what had to be done. Also, very helpfully, all the nail heads have rusted, so the method of construction is clear.

Here is a photo showing our replacement frame with the rabbet taken out, and the original model right behind it for comparison:


And, to give you a clear sense of what I mean by "trim", here is a photo of the original again, and behind it a piece of the new trim that we bought, cut and painted white, to be nailed into the rabbet, on top of our screening:


There are a couple of different ways of making the frames and of laying in screening, and I will show you some different models in another post. This is the one that was "original" to our house, as far as I can tell, though, and was the design we liked best, so this is the model we followed.

I put "original" in quotes, because I am fairly certain screens and screening didn't exist when the house was built. These are newer than the house, the round-head machine-made nails make that obvious. Still, whenever screens were made and added to the gear of the house, these seem to be the original screens made for our house.

Ok, so that's it for the front. What does the back look like:


There are only two differences between the back of the frame and the front. The back does not have the rabbet, as you can see. It does, however,  have an odd projection nailed to the back of the frame, at the top, which you can see more clearly from a side angle, here:


The purpose of this odd projection wasn't clear to me until I hung the screen in the window. Since the frame of the screen lies flat against the blind stops, there is a big gap (which the projection neatly fills), between the top of the screen and the meeting rails of the window sash. I realize that might not make sense if you don't know the jargon, so when the spring comes and we put the first screen in, I will try to add a photo of the screen in the window from that angle. I don't have one. 

But if you are making screens, believe me, it will become obvious to you at some point, what this projection does. It keeps bugs from flying in over the top of the screen, down under the open window and into the house!

Everything is utilitarian. The aesthetic appeal and charm is there, true, but everything also has a function. And things were made to work in a very simple, straightforward way. I love that about old American folk houses.

In any case, just to round out the photos of the model, here are two shots of the back corners of the frame:


And that's it for the model. 

Before we leave it though, I will point out my addition--the shiny, stainless screen fasteners. I have no idea how these screens were originally held in the windows. I actually think they were held in with wooden or metal turnbuttons, because there is no indication of fastening hardware ever having been attached to these screens.

To see metal turnbuttons, go here. They're attached to the exterior window frames. I've seen them on other houses and in other blogs. There are no metal turnbuttons on my windows, but in the exterior of the kitchen window frame that I scraped and painted two summers ago, there were old, empty screw holes in the place where either metal or wood turnbuttons might have been. 

My house has only one original wooden turnbutton, on the interior of a window, none on the exterior window frames. I'll take some photos and do a post on wooden turnbuttons next.

In any case, after a lot of thought and a fair amount of time hunting in local hardware stores and online, I went with the shiny U-shaped screen fasteners you see above. I will write more about fasteners when we get to the point of actually putting in a screen, but for now, just make a note of these, while you're looking at the photos.

More to come ... 

And, a thank you to my readers. I've been surprised at how many there are, especially people from all over the world googling porch column base replacement and landing here. So, I guess this blog does fill a little niche. I'm very happy to see it. Thank you if you are a regular reader!


____________________________________________
For the entire series on making wooden window screens, click on the category "How to Make Wood Window Screens Series", in the Topics list along the right-hand side of the home page. There is also now an index tab at the top of the home page, listing all the posts in sequential order, with a link to each one.


Saturday, February 23, 2013

Pugsley Place circa 1865: Lives of Pugsley Place

Step into the frame with me, here, below.

I'm sitting inside the house, now, writing. Come around the family and up the front porch stairs and down the porch to the last window. Look, I'm sitting here, looking out at you.

But you, you're back in 1865, or thereabouts.

There is an entirely different porch on the house. No storm windows. No screens.

It's summer, and times have not changed all that much in the intervening years. Windows open. Curtains gently waving. Flower baskets hanging from the porch. The breeze fluttering the leaves on the trees.

Same house. Same windows. Same rooms. Same doors.
Different trees. Different people.

Still. Step in. Walk about the house with me.

Here we are. Look at us.

We're all still here.


How to make wood window screens 2: Measuring

In my first post on this topic here, I covered materials and tools needed to make wooden window screens. In this post, I will show how to measure the window, to determine the size of the screen, and thus the amount of lumber needed. I'm going to have to use some jargon for window parts, but will try to show with photos what is going on, so that you don't have to know the names of the parts. I didn't know the names when I did the work, I only learned them since then, because I'm trying to write about it.

In any case, here is the window I am looking to measure for a screen, first, with the screen installed. Note that my screen covers only the bottom half of the window. There are pros and cons to having half-size screens, but since that is what we inherited, that is what we decided to replicate.


And now, a shot of the same window, without a screen or storm. Look at the beautifully shiny, wavy glass!


In any case, there are four or five basic measurements to make.

Measurement number one: Take the bottom measurement of the screen, horizontally from the inside of the trim that surrounds the window (where the end of my measuring tape is here), along the sill, to the same spot on the other side of the window:


Measurement number two: Take the same measurement for what will be the top of the screen, horizontally across the window at its middle, where the two window sashes meet--what is called the "meeting rails." With an old house, it's worth measuring both top and bottom, because they might differ. So then, since your screens will be (more-or-less) square, use the smaller of the top and bottom measurements as the final measurement for the width of the screen.


Here is the same measurement, just from another angle:


Measurement number three and four:  Measure the height of the screen, vertically, on both the left and right sides of the window (because, again, with an old house, the two sides might differ). You want to measure from the top of the meeting rails (where my left index finger is pinched on the top of the measuring tape here), down to the top of the sill (where the thumb of my right hand is):


This time, take an average of the two vertical measurements, and use that as the final measurement for the height of the screen. You don't want it to be too high or too low, so an average is probably best.

Measurement number five is the depth of the frame for the screen.

If you have existing wooden storms or screens, measure the depth of the lumber used for the frame and just use that size. Otherwise, you need to figure out what your screen will rest against (usually against what is called the "blind stop"--that is, the little strip of wood inside the casing that keeps the outer window from falling out onto the porch).

In the photos above, the ugly black weatherstripping is stuck to the outside of the stops on all four sides of the window. My storms snug up against the weatherstripping. But every window seems to be made a bit differently. Not a surprise -- we're talking pre- or early-industrial age here. None of the manuals I've consulted show windows that are made quite like mine, so I assume yours too might be slightly different. But every double hung window has a "blind stop" that holds the sash in place, so it can run up and down inside the frame without falling out. The outside of the stop is most likely what the storm or screen would be placed up against.

You need to measure the depth of your trim or casing from the outer edge of the blind stop to the outer edge of the trim or casing, so that the screen, when it is put in place, will be flush with the casing. I'll take a couple photos of the storm that's in place now, to illustrate. I can't take a photo of the screen in place--it's winter ...

Bottom line is, as you can see, the face of the storm is flush with the face of the casing. You want the screen to be the right depth to end up flush, as this storm is.


And that's how to measure. 

In the next post, here, I will show the model I'm using for construction. To go straight to construction, go here.

____________________________________________
For the entire series on making wooden window screens, click on the category "How to Make Wood Window Screens Series", in the Topics list along the right-hand side of the home page. There is also now an index tab at the top of the home page, listing all the posts in sequential order, with a link to each one.