Showing posts with label 19th century home renovation and restoration. Show all posts

Saturday, July 27, 2013

How to make wood window screens 11: Installing the screening material and finishing your screen

The sky is just lightening, birds chittering, cats only just waking, I'm sitting here with my first cup of coffee, and I am excited for two reasons. One, because I am going to spend the entire day where? You guessed it. In the garden! We've had 100 degree weather for most of three weeks then three days of rain, and the vines and crabgrass and poison ivy have just exploded. Today should be partly cloudy and 84 degrees. Perfect for a long mid-July day of battling weeds.

But second and at long last. Today. Right this minute. Finally. Woohoo. The long promised final post on installing screening.

Whew! We are almost done. (Well, with a demonstration of screenmaking, that is. Personally, I still have many, many screens to make). In this post we will cover how to install the screening material and finish your screen. These are the steps remaining:

10. Put the screening in
11. Nail the trim over the screening
12. Put in the fasteners and install the screens

10. Put the screening in

Here we are with our screening. Charcoal grey aluminum screening. We picked it up at our favorite local hardware store, the Melrose Lumber and hardware store right around the corner.


It's quite a bit longer than our frame, as you can see.


We start by unrolling it and--without cutting anything--begin by placing one end of the screening material along one edge of the frame. We square it up (and here is where two people are handy), I hold it even while Capel staples, beginning in the center and working out from the center alternately on both sides.

You can see we have left overlap on both sides. Leave enough to make it easy to grasp the screening material and pull it taut, don't skimp.


Here's a close-up. There's nothing fancy here. In fact our stapler may not be strong enough, because our staples don't go all the way in and we wind up having to hammer them flat. Hopefully, you have a better stapler than we do.


Now we are working on the side that is OPPOSITE to the first side we already stapled, and you can see me pulling the screen taut. Not too tight, or you will get wavy unevenness, just taut and even. Screening has lines and you can pretty easily see when it is straight.


Once the two opposite sides are stapled, we cut off the end of the screen, so the roll of screen is not in our way. That first cut we do with those yellow metal shears you see off to the left, and we do not cut it too close, so there is still four inches or so hanging off the second side that we just stapled.


And here you see a corner of the second side up close. 


Now we work on the third side, here you see Capel holding the screen and stapling as he goes (leaving me free to take a photo). Again, he starts with one staple in the center and then works out alternately on both sides. When that's done, he staples the fourth side, opposite.


Close-ups.


Now we've stapled all four sides and since the staples are sticking out, I invent a way to hammer them down without gouging out the screen frame ...


Then Capel takes a box-cutter with a new, sharp blade and cuts the screen around the edges, putting the edge of the blade right up into the edge of the rabbet. The screen can get a little torn and raggedy-edged on this step, but as long as the part that will be visible is not mangled, you'll be fine, don't worry.


11. Nail the trim over the screening

Now we are ready for step 11. All the edges are trimmed, and we lay out each piece of trim. As I explained some time ago, we cut each piece of trim to fit the rabbeting in each screen exactly and labelled the pieces with tape flags and sewing pins, so these pieces were labelled Screen 5T (for top), 5B, 5L and 5R. Here they are laid out.


And, again, a close-up.


A close-up of one of the tape flag labels, 5L.


Now, we start fastening them down. We're using wire nails 1/2" by 19. You want to make sure they will go through the trim, screening and into the frame, but not be so big that they will split the trim. They're really minuscule and yet they work and are remarkably easy to put in.


So here is the first piece in.


And now the second, and then we just work all around in a circle (rather than doing opposite sides), to make sure the mitered corners are snug and matched up as we go. You don't have to worry about putting too many nails in. Fewer is better. Just enough to hold the trim on and keep the screening secure. The staples are doing most of the work of keeping the screening attached to the frame.


And, that's all. It's finished. Now, these screens are under a porch, so I didn't countersink, fill and paint the nail holes. I might do that when I get to the second story screens. Not sure. I haven't seen any rust stains on the screens we made last year.

The reason not to counter-sink and fill them would be to leave them visible so that the trim can easily be removed if the screening ever needs to be replaced. Your call.


12. Put in the fasteners and install the screens

And that's it! The screen is in the window. What an amazing feeling!!!


'Yay,' says Minky, who discovers it within 3 seconds flat, natch. 'A new perch!'


____________________________________________
For the entire series on making wooden window screens, click on the category "How to Make Wood Window Screens Series", in the Topics list along the right-hand side of the home page. There is also now an index tab at the top of the home page, listing all the posts in sequential order, with a link to each one.

Friday, March 29, 2013

Number and mark your wood windows, storms and screens for easy rotation each season

This is just a suggestion, but if you're either making wood storms and/or wood screens for your windows in your old house, I would suggest you think about how you're marking which storms and screens go to which window, so that your seasonal work to rotate the storms and screens is simpler.

You could just mark them on the side with pencil or marker, though in my experience those marks fade and get to be hard to find over time. Or you could find some other way of marking them. I was very happy to find that the House of Antique Hardware and SmithRestorationSash.com have teamed up here to sell numbered tacks that can be tacked onto each sill, storm and screen, making the seasonal rotation of storms and screens easier. The other nice thing about these is that they can be painted over and the number will still be visible--at least for a few coats anyway.

(One minor word of warning, these are made with barbs to keep the tack in. Once in place, they can't be removed without the head detaching from the tack, so double-check you've got the right numbered tack before you hammer in each one. I've made a few mistakes and then had to glue the head onto the window, which is not totally ideal.)

In any case, the basic idea is pretty obvious, but I'll show it to you in action:

Here are the numbered tacks in their box. You can see that the #6 here has not been used, because the #6 screen has not been made yet:


Here is the 6th window on the downstairs front of the house, both sill and storm have been marked (because I am writing this in March, the storm is still in the window).


As I mentioned, screen #6 for that window has not been marked, because it is in the process of being built. As we make it, each component is numbered #6, which allows us to keep track of the various pieces when we're making more than one screen at once:


I'm running concurrent series on making wood window screens, and repairing and restoring storms and windows, so see those series, on screens beginning here and on storms here for more details.


Thursday, March 7, 2013

Wood Storm Windows 1: First Attempt at Repair

Since I am on a roll (I have written five blog posts sitting here at my desk early on a misty, wintry Saturday morning at the end of February,  cabin fever closing in), I will start one more thread on wooden windows, this one focused on restoring storm windows -- and so finally, I reach the little window that started it all, my baptism by fire, so to speak.

When we moved in, the paint on two sides of the house was in especially bad shape. The side nearest the road had be painted before we closed, for the bank to approve the mortgage. A contractor did that.

We decided we'd handle the rest.

So far, 19 months later, we've painted the back additions ... and, ... I have restored one kitchen storm window.  It only took me a year. At that rate, well, let's just say I'll be dead before they're all done. But, at least this one was in by far the worst shape.

In any case, since I didn't have a blog at that point, I don't have a good "before" photo. Here's the back of the house on our second viewing on February 27, 2011, nearly two years ago to the day, today.

You can see the amazingly beautiful rolled steel roof we had to remove and replace, too. It wasn't the original roof. The original roof (helpfully still underneath the steel roof) was cedar shingle. And beneath that, nothing. Alas, both had to go, and now there is a regular old composite asphalt roof on the house. I wish we had had another decent option, but we didn't. In any case, here you see the back of the house, original kitchen window and storm on the lower right, to the left of the kitchen addition.


And, a very poor close-up of the window. The detail is bad, but basically, all the glazing putty had dried up and fallen out of the storm, and the muntins had lost their paint and warped free of the frame in places, and the window panes were loose and in danger of falling out.

I knew when I took the storm off, to shore up and paint the exterior casing of the window, that it couldn't go back on as is.


So I took it down, took the glass out, marking each piece, cleared the old glazing putty and paint, refastened the muntins,  learning about simple window construction in the process. Then I chiseled the paint away from the rest of the window, getting the surfaces as smooth as possible, and finally, filled the gaps with a regular wood filler in some places and Minwax two-part wood filler in others.** [See note below about wood fillers and epoxy.]

This whole process took maybe a month, and at that stage, right before winter settled in for good, I reglazed the window and, finally, took some photos.


The horizontal muntin here, below, had warped entirely free of the frame (stiles) here, and as you can see, it's now more or less flush, having been refastened and then filled.


The bottom rail, below right, had shrunk away from the right stile here. After clearing most of the old paint, I filled this with two-part wood filler.


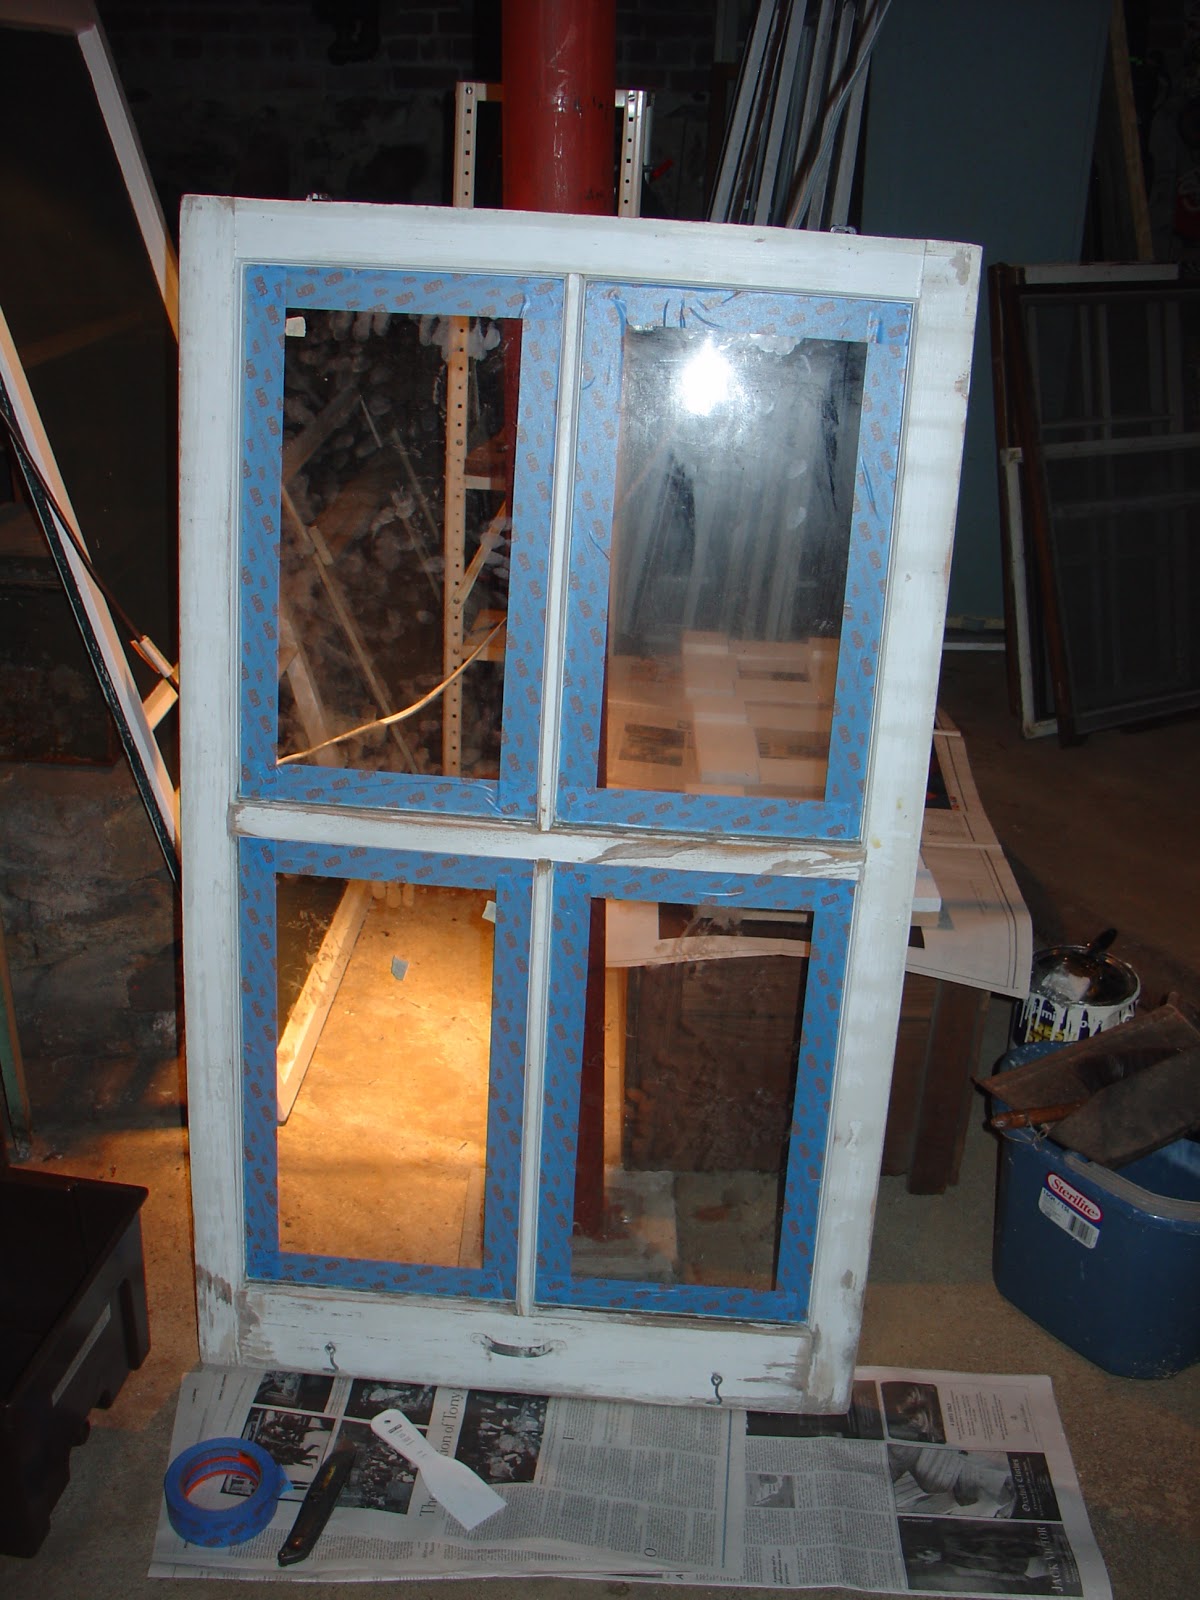
That was the point at which I burned out, despite the fact that it was a relatively small project. And so, the window sat, first in the garage and then in the basement for a whole year, until I was painting the porch column bases this fall. Then I taped and painted it, finally. And took a few more photos, that show its classic storm window construction.

So, this is the only storm window left in the house that has four panes. All of the downstairs storms that are intact are two paned, one up and one down. The upstairs windows all have their storms intact, too, but that's a different matter, for later posts.

So this one is unique. We're looking at the inside of the storm. You can see the metal handle on the bottom rail, that lets you pull it towards you (or push it out for some air).


Here is the inner upper-right corner:


Inner horizontal muntin, right hand side. This didn't need repair:


Here is a photo of the outside of the storm, which was in kinda bad shape. You can see the hanging fasteners, which I've painted with black Rustoleum. It's still totally possible to get a version of these fasteners at House of Antique Hardware, here. And, our Lowe's carries another version, too.


Here's a close-up:


 Bottom left outer corner, where I had to fill the joint between the bottom rail and left stile:


Bottom right corner, again, same deal:


And, some different angles, showing the construction. If you look closely, you can see the join between the right stile and upper rail:


This is a photo of the right side of the storm (right side, if it's installed and you're looking at it from the exterior of the house, that is), showing the classic mortise and tenon joint, where the bottom rail fits into the right stile:


Here you can see the same tenon joint construction where the upper rail is joined to the left stile:


And, one more view of a tenon. I show all these because I haven't seen and can't find any detailed descriptions or photos of the construction of old wooden storm windows, anywhere.


 Here's a shot, being painted:


 And, finally, before:


And -- after:


And last, today, doing its job holding out the snow and mist -- hook and eye holding it snug to the window frame (which, of course, needs to be painted ...).


By the way, I found another blog with very detailed descriptions of the carpentry required to make a storm window that is pretty much exactly like mine here, at the Bytown House blog by a blogger in Shaker Heights, Cleveland -- near where I grew up.


**March 11, 2013 Update: Over the winter, I have done some more research on wood fillers and wood epoxies. I am seeing some reviews that the Minwax two-part wood filler is not a true epoxy and doesn't hold up well over time in exterior uses with northern winters. Abatron seems to be the most used epoxy. A good explanation is on the Minnesota Window Restoration blog here