
Above, you see the one section still "standing" -- leaning, would be the more apt word. It's a short fence -- you're seeing it all (or, where it all used to be anyway), in the photo above -- but tho short, it is necessary, because it really does provide some privacy from the street for the backyard, and until we get a little shed for the trash cans, it screens our ugly garbage from the street.
One fence post was completely rotted out and blew over in the hurricane. The other, below, is leaning and while still attached to the section of fence, is also rotted away.

We, of course, as new homeowners and newbie DIYers, know nothing about fence posts or fences. So, here we go.
We start by removing the screws that hold the fence panel to the leaning post. That is my sole contribution to the day. From there on, it's all Capel.
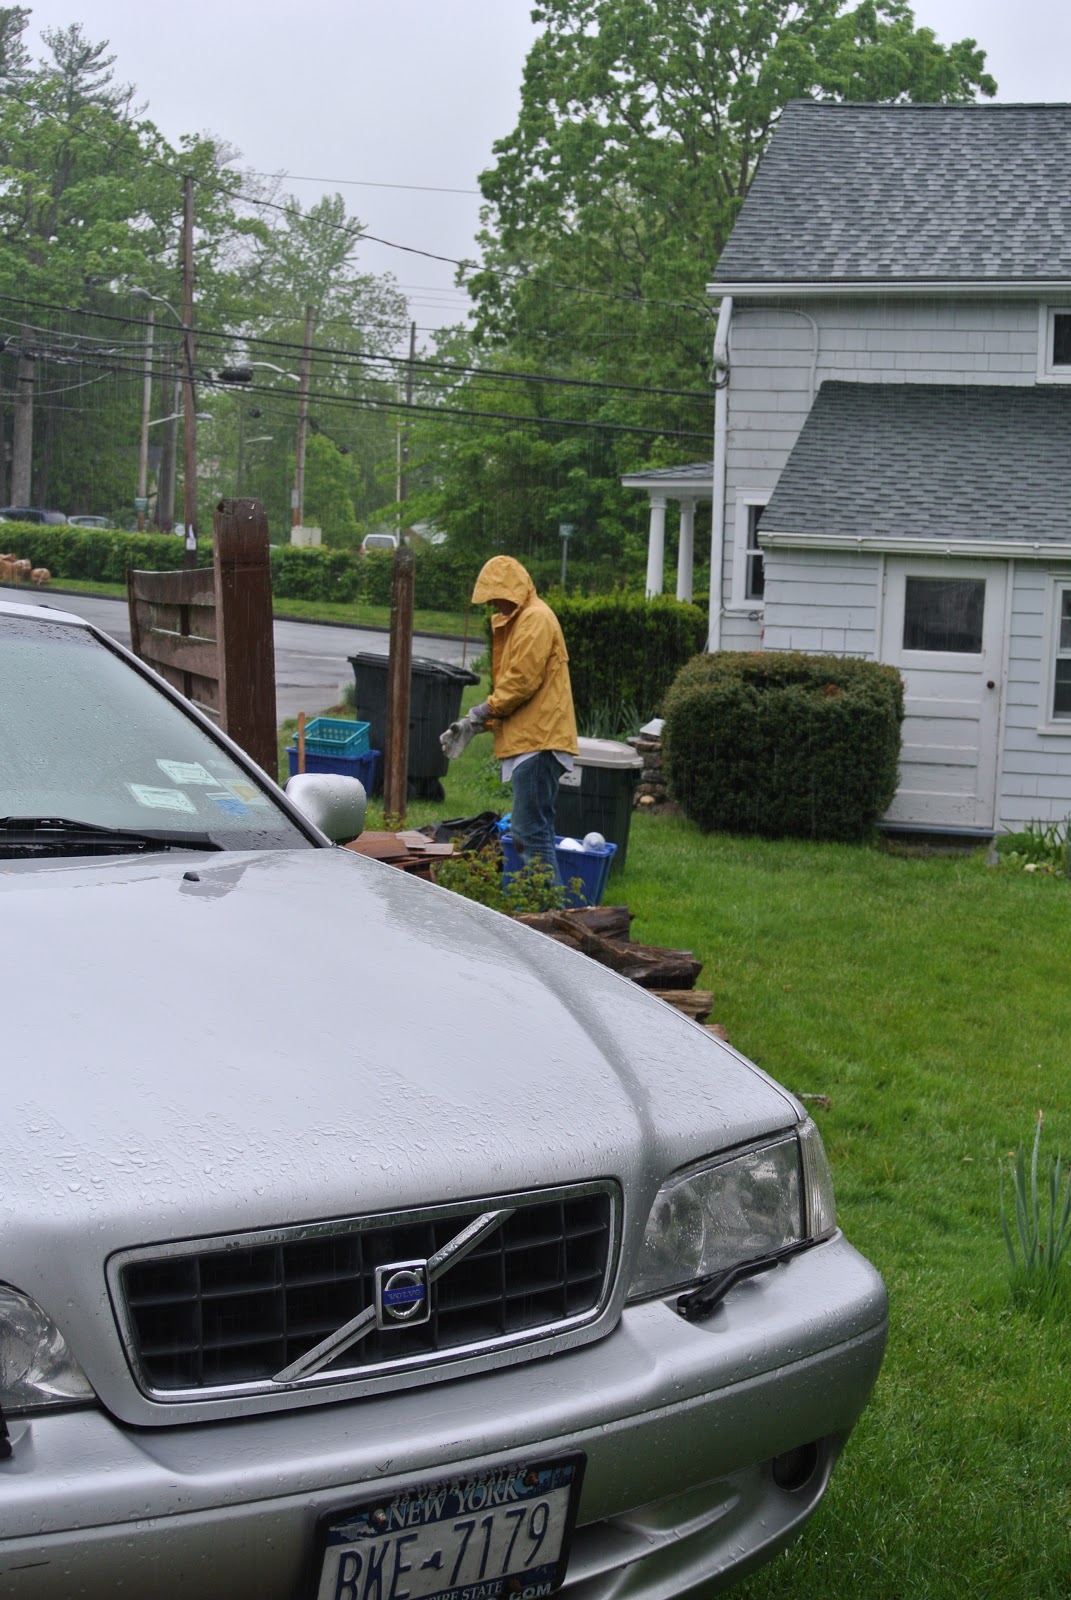
Oh, did I mention that it was drizzling, and we both got to try out our new waterproofs. That was perhaps the most exciting part of the day.

Turns out the posts were set in a ring of concrete. The post that blew down during Sandy was so rotted it was possible to dig the end of it out of the concrete hole, below.


The other one. Not so rotted. Doesn't look like it's coming up out of the concrete. But Capel digs a bit, anyway ...


Meanwhile, I make croissants, take photos of Capel doing all the work, and generally fool around in the garage, taking photos for future posts on the blog. Necessary work, I tell myself. While Capel digs ...

... and digs ...

Turns out, this post had much more concrete around it, probably a foot and a half of concrete down to the bottom of the post, which--I say to Capel--would be a bear to dig out, create a ginormous hole and then be impossible to lift.


Decision, this fence post end is not coming up.
So. Where are we? I'm starting to learn that the beginning of any DIY project is an assessment and then a bunch of research. Our assessment is complete, I'd say. We are not digging out the concrete. This means we'll be moving the fence back 6 or 8 inches further away from the street, which was our other option. We'd like a little more room on the street side of the fence, so, moving it back does fit one of our longer-term plans.
We'll need to source and replace all four posts. The fence panels are fine. Neither of us wants to replace the whole fence. So seeing as it was raining in earnest right about then, we took off for Home Depot and the lumber store around corner. Turns out lumber stores don't carry fence posts. So this week yours truly will be calling fence companies. I don't know if we can get replacements. If we can't we will probably buy 6x6's to make our own.
Research says it's a toss up between cedar and pressure-treated wood. There seems to be a lot of disagreement about the best way to go there. I'll start by seeing what is available.
There does seem to be agreement that it is better to root the fence post in a gravel filled hole and then surround it with concrete, so that the water can drain away, rather than putting it in a solid bed of concrete. So that is our plan at the moment.

Knowing the right information when selecting the materials for your fence repair will help you build a beautiful, lasting fence to enjoy for years. Learn about pressure treated lumber and which grade to buy for wood posts set in concrete.
ReplyDeletePrivacy Fence
Possessing a fence developed from solid elements this kind of as concrete, solid wood, and steel gates are the most efficient and classic style of obtaining an out of doors privacy display screen. HCDS Outdoor Solutions
ReplyDelete