Showing posts with label Gardening. Show all posts

Saturday, September 28, 2013

Today in the garden: late summer dahlias, asters and ... voles!

This is the time of year when the sounds in the garden are the most delicious and haunting. It rained overnight, and this morning, now, early, there is a soft buzzing everywhere overhead. The thready song of first fall.


And there is anticipation. Anticipation of bulbs arriving to be planted in the ground, to snug down for the long winter and then gradually, slowly awake to spring. And beds to be put to rest. Plants to be taken up, mulch to be put down, last weeds to be weeded.

And voles. Nasty voles have invaded my garden this summer. It seems the twin combination of lots of bird seed and nice, new plants with freshly dug dirt are just too irresistible for voles. I've got new vole holes popping up every other day. Holes in the back garden. Holes under the hosta. Holes in the yard. Holes under the front porch. Holes in the front garden. I won't bore you with photos of holes, but I may talk about dealing with them, if I can manage to find a solution.

First order of business? I have stopped feeding the birds for the moment. A difficult but necessary step.

But the garden is still pretty, even in its last blush of late summer. Tomatoes galore for us and for the neighbors.


Marigolds, at the peak, giants this year, amazing, impossibly giant giants sweeping up along the road in glorious clouds of orange and red ...


Asters, at their peak ...


Dahlias ...


Zinnias ...


The happy, leggy bonariensis that I never thought would come up from seed ...


A rambunctious late volunteer nasturtium setting off the heaven's gate coreopsis ...


The porch in its hanging pots aglow ...


Dogwood, yew and holly getting their fall reds out of storage ...


Fall geraniums with happy faces ...


One last rose ..


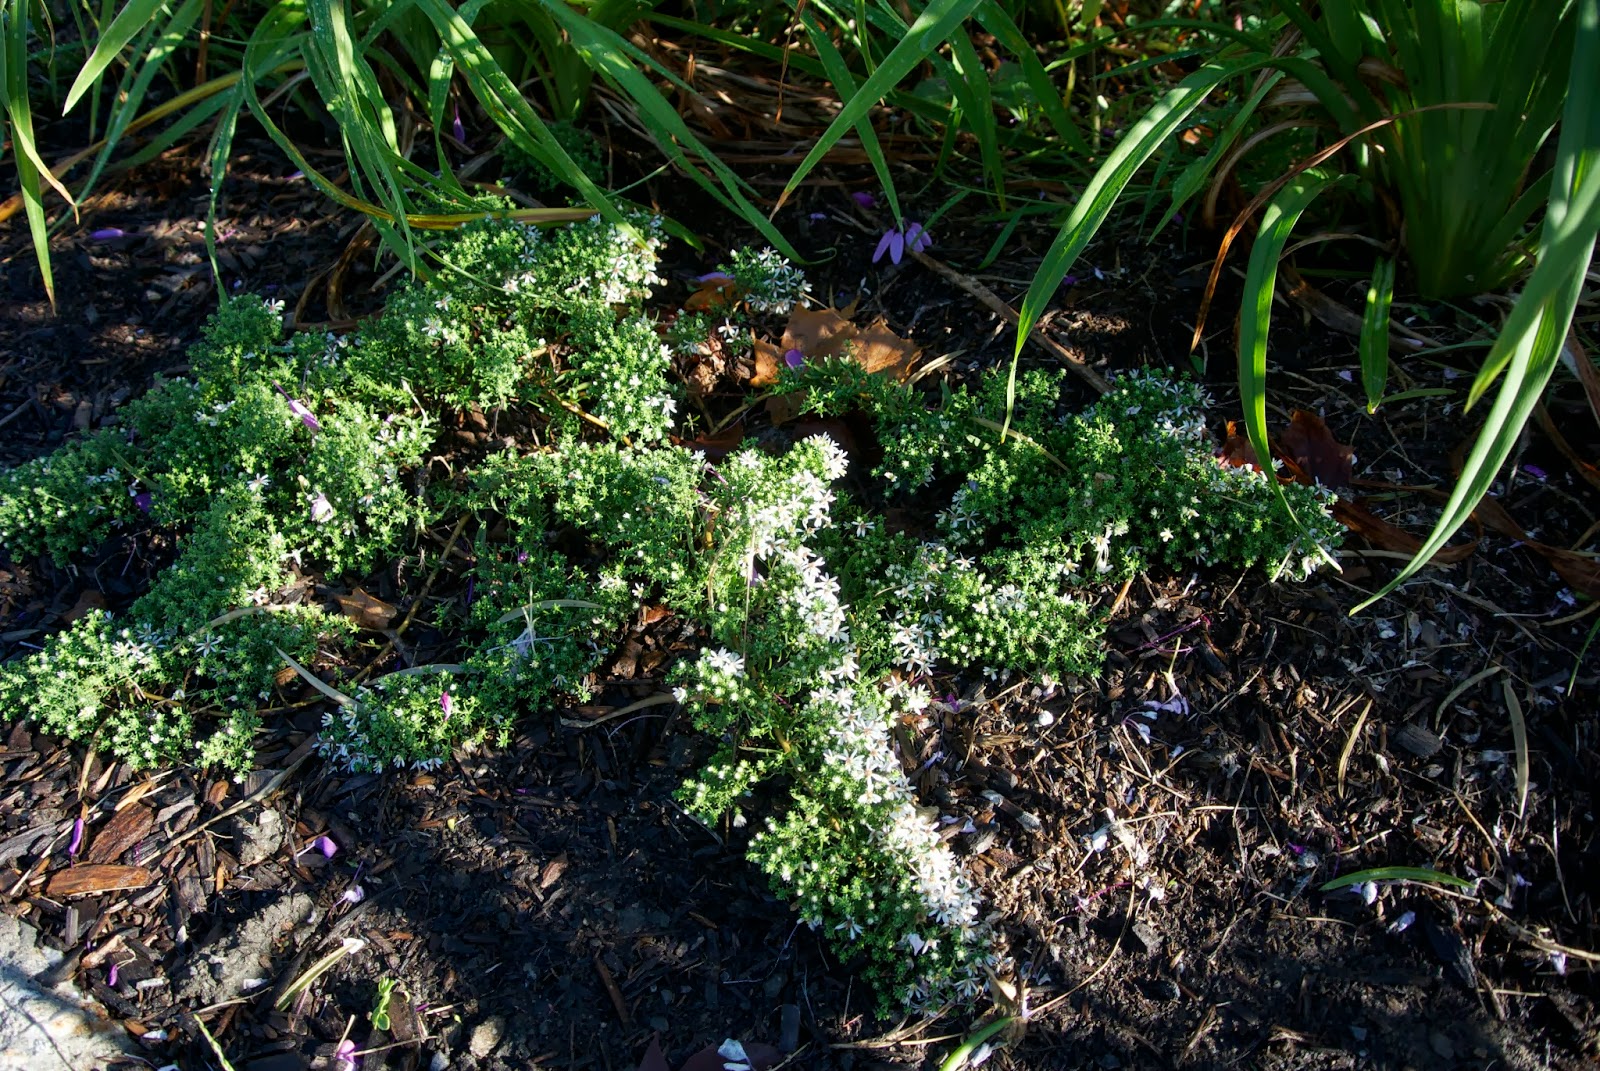
And one last nameless weed blooming ...


Cats in sunny windows on cold mornings ...


Spiders, big as science fiction monsters, readying their Hallowe'en webs (ancient shovels repurposed out of the lost depths of the garage to gently sweep them away from doorways back into the garden) ...


And the Hardy Cape Daisy, freed from bittersweet in the longago spring (here) and long anticipated, now finally in bloom ...


Saturday, August 24, 2013

Design for a full sun flower/herb bed, fall 2013

Part Deux - Pugsley Corner Garden Design.

So, I just posted the design for the garden on the Pugsley Garden from this spring. Yesterday and today, I have been working on an update of the design, to incorporate a whale of a lot of spring bulbs and other fall plantings I just ordered to fill holes and help to fix problem areas.

First, here is the updated design. It doesn't show many of the annuals, as those won't get placed until next spring. It focuses on the perennials that are not moving, and the new things I intend to plant this fall.

Below the images of the garden design are the notes I wrote myself about what I'm trying to do ...


Basic plan is to move next year's Tomatoes to another place (where?), because my Heirlooms are showing some signs of wilt, and so it is better to rotate them. Also, the Tomatoes, Dahlias and Cleomes are FAR TOO scrunched in with not enough room, light or air, so most of the Dahlias will have to go elsewhere, too. So, put in Tulips and spring bulbs there, where the Tomatoes are, and overplant with Dahlias and (fewer) Cleomes, with Marigolds to come up along the fringe and maybe Basil somewhere in there?

Then, move the rest of the Dahlias down where the Basil is now, and underplant all of that area behind the long row of Daylilies with Tulips and Daffodils. And fill in the bare spots where the Basil is now with a few more Coneflowers.

My biggest hole is behind the Peonies, where the Lilies are spread too far apart and there is a lot of bare dirt that just is a standing invitation to weeds.

Idea -- Behind Peonies -- one pink Salvia and a slew of mixed bearded Iris around the curve of the rock garden to fill in that curve. The Iris will bloom early, at the same time as the Peonies and then be a nice, pointy blue-grey foliage counterpoint to Lilies and they will spread very slowly, so put behind Peonies, and the white Siberian Iris will look like tall grass after blooming, so put behind Salvia.

More pink Hyacinth among the Peonies.

Some orange and red Tulips where Tomatoes are now, along the front of Campwoods Road where they'll be very visible to passers by, with the pale yellow Narcissis and a few white Daffodils.  And between the Daffodils and Peonies, put the Fritillaria persica, which will look great showing off their spikes of dark, dark black maroon in front of the white Daffodils.

Put the remaining orange and all pink Tulips in clumps behind and above the long row of Daylilies, in clumps, not a row, and then white Daffodils and peach Narcissis in clumps between the Daylilies, to naturalize.

Also put the other three purple Salvia between Daylilies, but on the Pugsley street side, as they can bear the salt.

Finally, put the tiny Katharine Hodgkin Irises in the rock garden.

And the Eryngium (Sea Holly) between the Daylilies too, on the street side. They're highly salt tolerant.

And finally, finally, red Allium and the hair Allium all in among the Coneflowers and Russian Sage, because all of that will be pretty bare in the spring.

Finally, finally, finally, tuck in fall crocus where there will be August bare spots and same with the Lycoris squamigera. Added thought on that: Lycoris back of the Russian Sage, where the foliage can come up in the spring, then be covered by the Russian Sage as it dies back, and then when the Lycoris blooms come up naked in the fall, they can come up through the Russian Sage and bloom pink above the Sage.

Note: The white Siberian Iris want moist soil all summer? Put wherever I'm going to water consistently (that's near the Dahlias). But also note their foliage will stay green and upright (these are tall and huge flowers) and so put where I want foliage. And note further that it is said they will form a dense clump that weeds -- or Lilies -- cannot break through. So can't put in the middle of the Lilies.

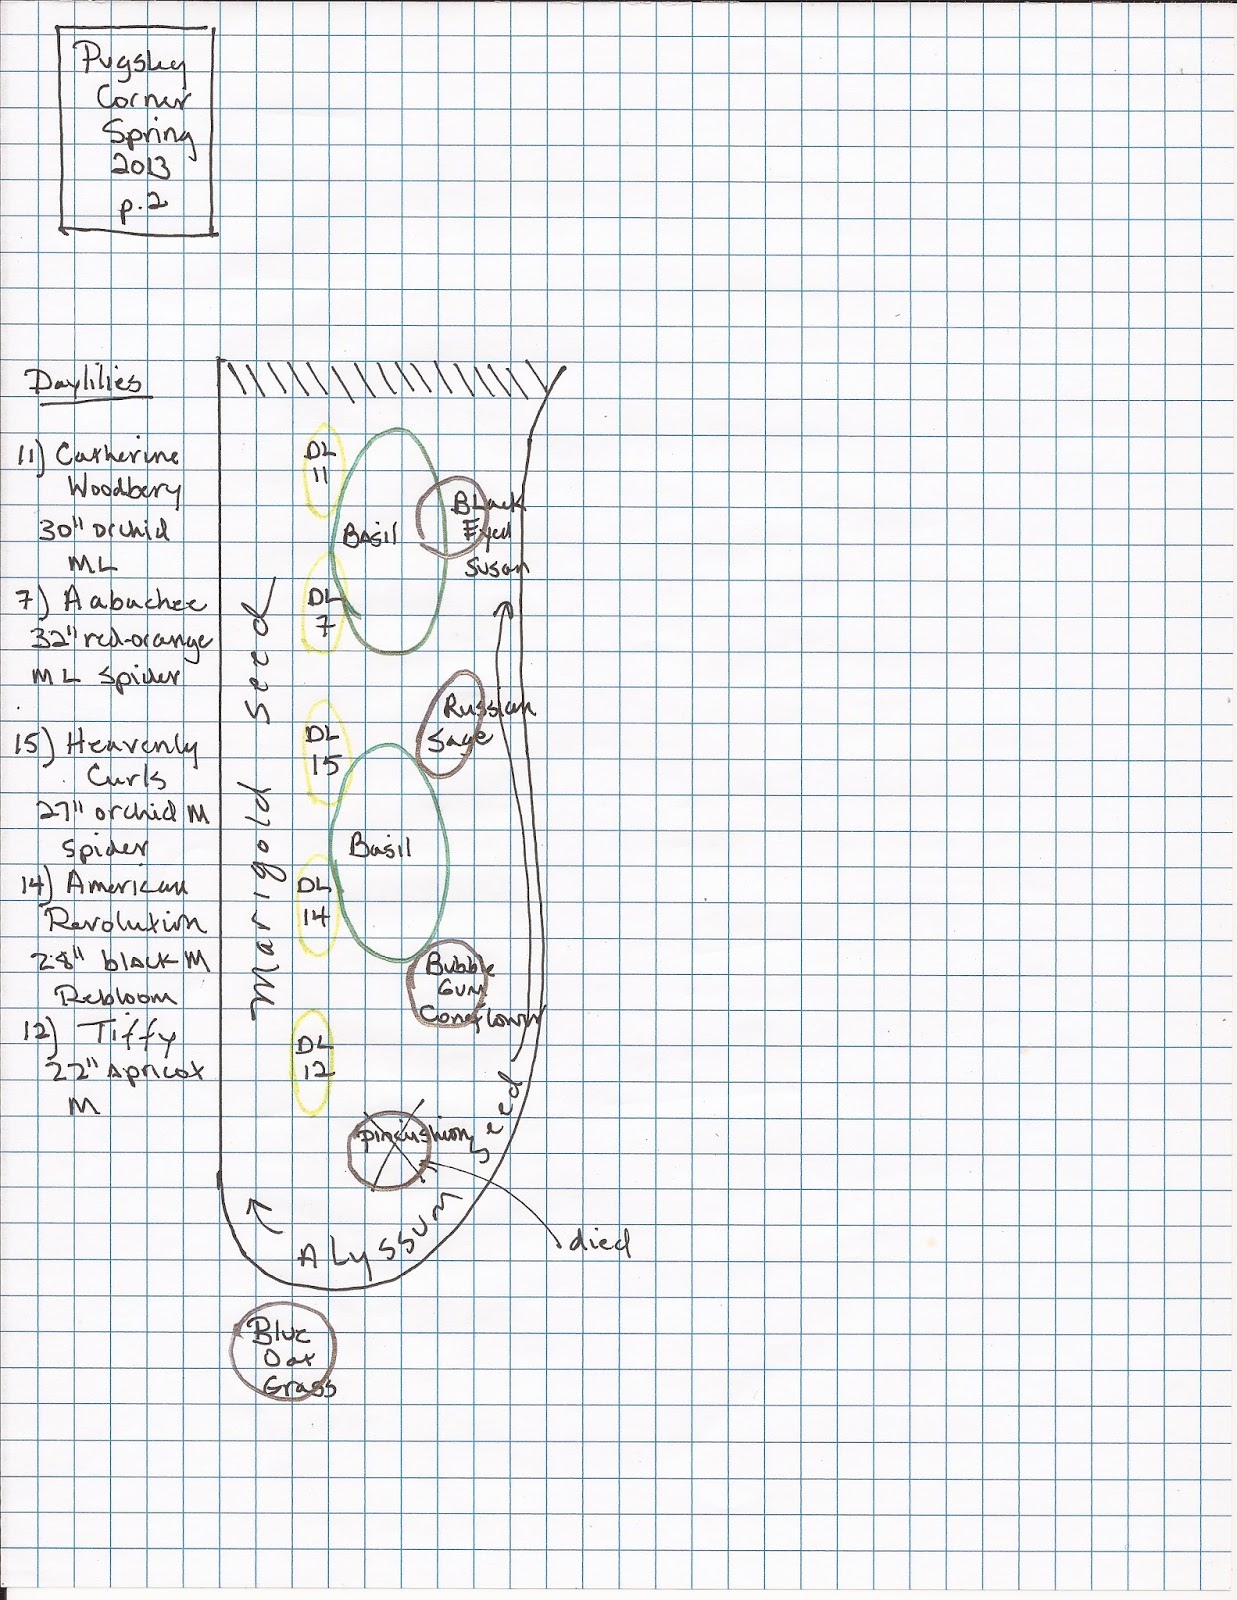
Design for a full sun flower/vegetable bed, spring 2013

I have been meaning to write this post for ages. Last spring of 2012, the spring after I moved into Pugsley, I ordered 15 daylilies online. I dug a new garden for them by the garage, but it proved to be too shady and they didn't do well. This spring, I knew I needed to move the daylilies into full sun. I also wanted tomatoes, which require loads of sun. And I had an unsightly corner of the yard, where people have been driving on it because there is no curb.

And, final requirement for this new bed, I wanted a place where I could put other flowers I love that require huge amounts of sun: Russian Sage, Black Eyed Susans, Coneflower, etc. I spent all winter thinking about where I could put such a monstrosity.

Finally, I realized I could solve all my problems at once by putting in a full sun flower and vegetable garden right on the front corner of the lawn. It's a bit out of the ordinary -- tomatoes on the front lawn. But it has turned out so much better than I could have ever imagined, and routinely, random people--total strangers--stop their cars when  I'm out in the garden to say how much they enjoy it too.

I've written about this garden a lot this summer, but I never finished drawing up the final design. This morning I finished it -- because I just ordered a bunch of bulbs to put in for next spring, and I needed to draw a design for the planting when they arrive. So, after some delay, here is the spring 2013 design ...


Thursday, July 25, 2013

What's blooming new?

I went out early Sunday morning, just as the sky was lightening and the Cleomes were covered in bees. By the time I decided to get my camera, there weren't as many. I wish I could convey the early morning peace of the bees shifting magically here and there and their slight undercurrent of buzziness.


The last two day lilies bloomed for the first time a week or so ago, and I keep meaning to post photos. This is Aabachee. It's got an elegant, recurved form. For more about this variety and the others I put in this year, see my Crazy Daylily post from July here.


This is Daquiri ...


And here is a tall drink of a plant called Bonariensis, a kind of a verbena, that came up from seed and has only just bloomed ...


And, the first Dahlia of the year


Thursday, July 18, 2013

Trimming a monster yew hedge

We have two monster yew hedges in our back yard. I love them for the way they define the yard and set its bounds with green. Still, they're massive and the one alongside the garage has just gotten impossibly huge. Try as we might, we just haven't been able to get it trimmed to a manageable size.

I took a monster yew hedge out, in another life, and lived to regret it. In some ways it was the right decision, because it was a monster yew in the wrong place, but when the hedge went, so did the cheerful bird song in the mornings. And the replacement plants never quite did well, never quite looked right either. I learned that some things take decades to grow and can't simply be replaced overnight. And so ever since, I've said to myself, that if I had another house, I wouldn't make drastic changes the first year. And so, for the most part, I haven't.

We've owned Pugsley now for almost two years exactly. I think as I write this, on Sunday, the day after tomorrow, the 16th, will be two years. And today, we cut back one of the monster yews. It's an amazingly beautiful yew, matched only in amazingness and sheer prodigalness by another hedge at right angles. Together they define the back of the yard, as you can see in the three photos below, panning from right to left.


The yew in question runs alongside the garage and, as you can see in the photo below, is gargantuan. 


Despite a fairly severe trimming last June, by September it had rebounded and seemingly doubled again in size. It is much taller than I am and a good 10' deep. It runs right up to the garage wall and is virtually impossible to trim. Besides which, I've recently found increasing numbers of vines climbing up inside it and I know that in the next year or two we will have to paint the garage, which will not be possible with the current state of things.

So, when Capel decided to rent a hedge trimmer this weekend, I thought, it's now or never. And broached the subject of a drastic trim. He agreed, much more readily than I thought he would. And, what's more, he did the whole thing, start to finish.

We agreed we needed a good 18" distance between the hedge and the garage, and that the entire hedge needed to be a foot lower, to allow room for 6" of growth back. And away he went. The first cut, along the back, revealed a beautiful set of yew branches underneath, with plenty of vigor for springing back from a severe cut.


Note the green sprouts from the very bottom of the trunk. And, in other places, green sprouts coming directly out of the branches. This is a good sign, and means that once the upper growth is trimmed away, exposing the lower branches to sunlight, they will fill in, with new, green growth.


They're amazingly beautiful in their sweep.


Not so, a rather nasty garage wall in need of some work.


Here, a few photos, mid work. This one gives you a sense of the hedge's height up close. To take this photo, I held the camera as high as I could hold it and pointed down.


And now, the finished work, showing four beautiful yew bushes. And the stone wall underneath it, too, is finally visible. I'm already thinking about the shade plants I can put underneath. And when the hedge springs back, there will be lots of photos, you can bet on it.