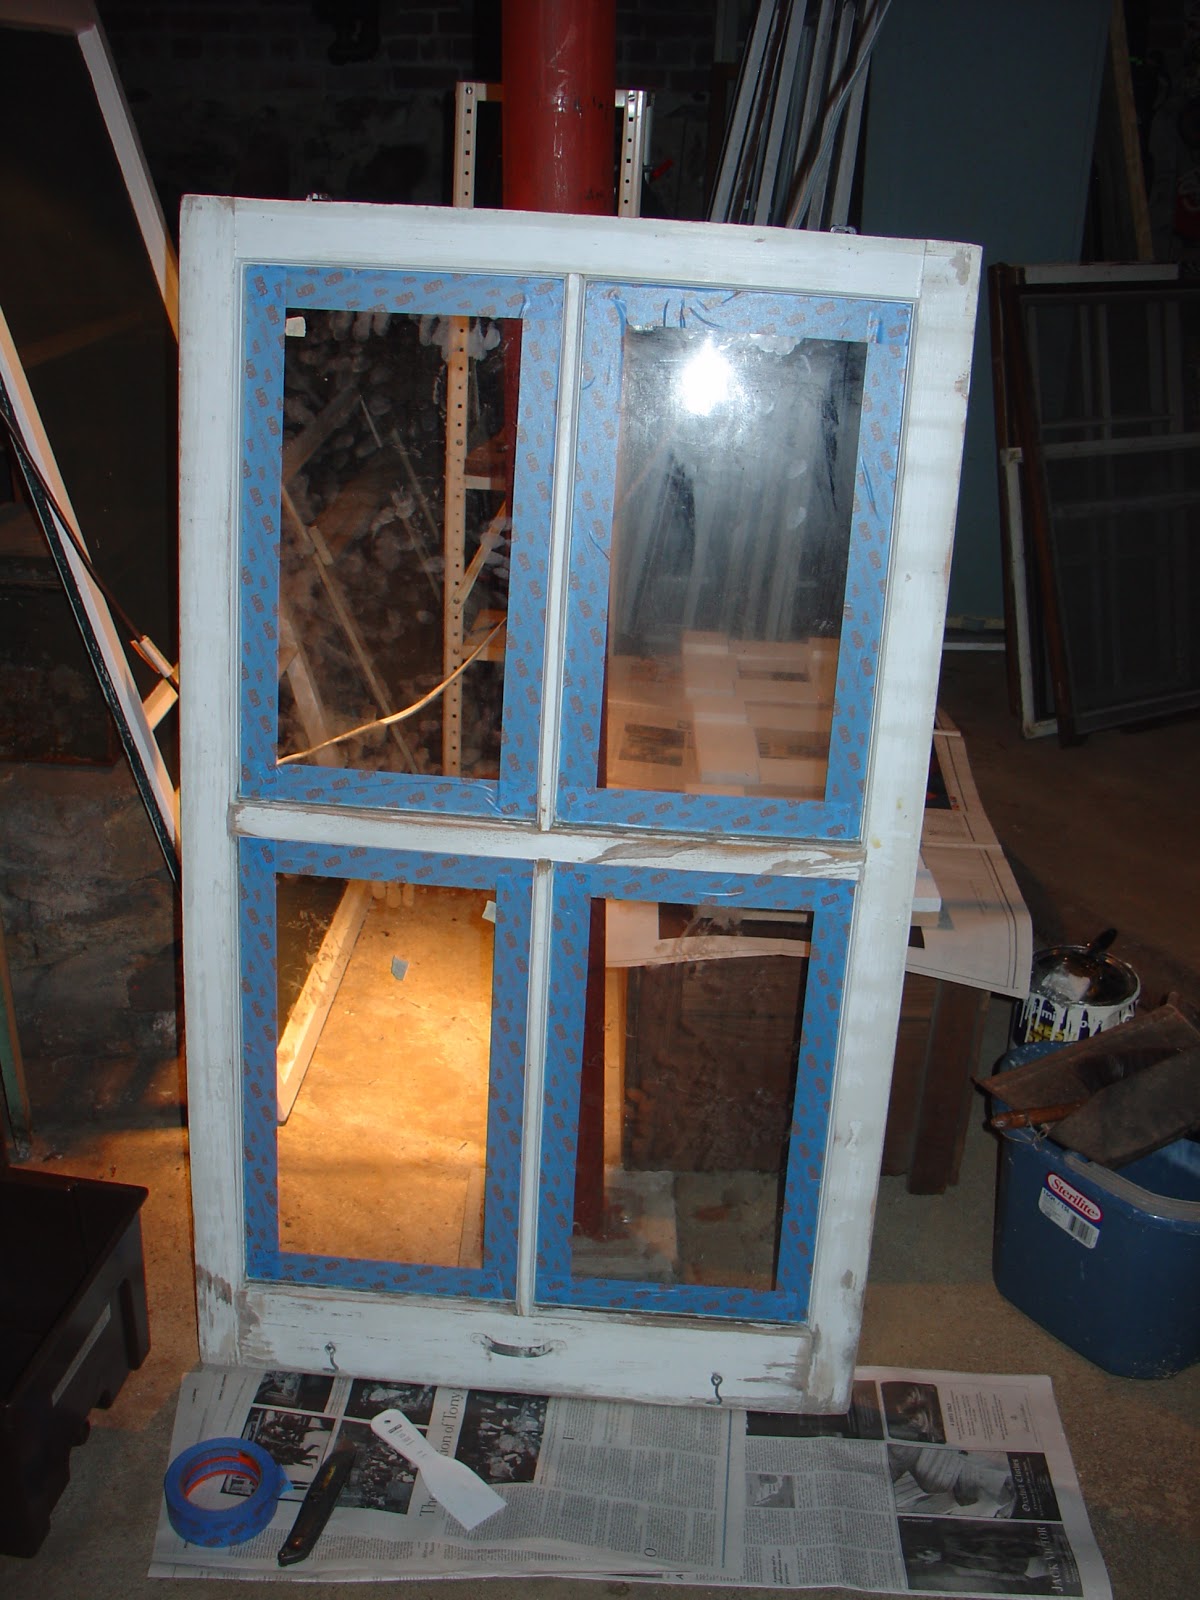
Still moving. Boxes everywhere at the apartment. Today, we went over to Pugsley to work on two projects: taking up the existing dining room rug and trying an experiment on the existing wooden storm windows.
Much of the house still has its original single-page glass windows. There are six along the front of the house on the ground floor, and two on the living room side. They don't seem to have been opened in a while, with one exception of a living room window that seems to have held an air conditioner.
The windows are sash windows, six-pane divided lights above and below. They're so old they don't even have ropes and weights. They're in excellent condition, in the front of the house, anyway, in part because the front windows have always been sheltered by the porch that runs the length of the house. On the exterior, there is a storm window for each, the old wooden type held on at the top by a traditional steel storm window hanger, which is a different kind of hook and eye fastener, at the top of the window. The fasteners had been painted over. Last weekend, Capel and I tried to get one loose. We could get a window up (oh, yes, those seem to have swelled shut too over the winter), and we could even get the storm loose at the bottom and push it out a bit. But the storm wasn't going to budge off the hook and so couldn't be removed. So after some (slightly heated) conversation, we put the storm back where it came from. At that moment, the window project became mine.
I thought about it all week and did a little research online. There are companies that make reproduction wooden storms, and a few that also make wooden screen inserts. Ultimately, we'll need the screens, because we have a cat. I'm of a mind to try making the screens ourselves. Don't know if this is a foolhardy gesture.
There are a bunch of old wooden screens in the basement, none of which seems to be the right dimension for any of the existing windows. My presupposition is that they were gathered together randomly from nearby houses. The windows in this house are primarily of two sizes. The screens are every size but.
But the screens have given us some ideas about how to make screens ourselves. They're a very simple construction. That is for another post -- after we've had a chance to photograph them and think more about making them.
Today, my job was to get out a chisel and hammer and see if I could loosen the paint on the fastener hardware enough to free the storms. I started on a back window, slightly more inconspicuous. With my first hammer, though, I knew I was home free. The paint curled up and a slightly rusty steel fastener glinted cleanly underneath. It took a little patience to carve away the paint and get down to steel, but it was possible, and not even very difficult.
Capel found a rasp in the basement, and I used it to get along the top of the hook, where the chisel didn't reach very well. After some appropriate bragging and crowing, we moved the ladder around to the front porch, and Capel went in to work on the dining room rug.
It was contemplative work. Six windows, two hooks per window. Maybe 10 minutes each, probably less. I'd found the chisel, slightly the worse for neglect these 10 or 15 years, in the bottom of my toolbox. It's got a lemon yellow transparent plastic handle. The blade is a bit rusty now. I bought it when I was 17 or 18, an art student in a Christian school, for my sculpture class. It falls neatly into my hand, and the hand, hammer, chisel machine has a mind of its own. It has a familiar way of working that doesn't require any thought. Tap, turn, tap, turn, tap, turn. All along the angles of the hook and it's counterpart mechanism. I think about how little that 18 year-old self of mine might have guessed that the sculpture skills would be used to chisel paint off of window hardware a century or more old.
It's 10 a.m. and 90 degrees in the shade of the porch. I drink a bottle and a half of water, and the sweat pours off my forehead and down my back. Finally, the job is done. I go inside and use the rubber mallet to tap at a few windows, rubbing the frame above the windows with a candle, to give them a bit of glide. Most of them open -- and promptly fall down again.
Mental note. We will need sticks to use as props, as well as temporary expandable screens. That's for next weekend.
I look around. Capel is long gone -- out to run errands and to bring back the vacuum from the apartment. The dining room rug has left little piles of brown dust, the disintegrated rug pad that has clearly been in place for 60 years. The rug was incredible. A handmade round braided rug the entire size of the dining room, which is 15x16 feet. It was made locally, by a friend or neighbor, for the room. The outer edges have been demolished by the thousands of footsteps on it over the years though, and is unsalvageable. The sellers' agent, who knows the family, suggested we try to salvage the center of the rug. So out it goes to the garage, until we get a chance to look at it more closely.
While I'm surveying the dust, I notice a small box marked fragile in the corner. I'd forgotten that I brought this box up during the week. It is my tea things, for the glass-doored built-in in the breakfast nook. I tiptoe through the dust gingerly and go out to survey the built-in. One pass of the hand tells me yes, it needs to be cleaned. So out I go for the bucket, murphy's oil soap and a rag.
But before that, there is a third window in the breakfast nook that I thought might have a screen. The windows out here are newer, perhaps from the 50's or 60's. Casement windows with gerry-rigged storms on the inside. Last weekend, Capel and I found screens for the smaller casement windows on either side of the picture window. And then I found a box the sellers had left, with their father's handwriting on it. "These are the parts for the kitchen windows." It was a crank. How we put that together is another story. But on the side of the nook is a third casement window. I thought I had seen a screen downstairs that would match. These are a dark piney color, nothing like the whitewashed screens to the rest of the house. So after hunting up the tape measure, trudging down to the basement to measure and bringing up the find, sure enough, it was a screen. No sign of the crank mechanism though, to open the window on the outside of the screen. But never matter. I slip the screen in, and secure it with a nail slipped into a well-worn hole at the top of the window frame, a fastener of the previous owner's devising.
It started to rain, softly. And as I ran the tap water, filled the bucket with Murphy's Oil soap suds and started pulling out contact paper and wiping down years of dust, the soft rain shelled down around me. Quiet and peaceful.
An hour later, the blue built in piece is cleaned, along with a small bit of the wallpaper, which turns out to be washable in the kitchen. The built in is ancient. Seems to have been moved here from somewhere else, and then customized for this space. Because the chest of drawers below has a little side-panel that seems to have been added onto an existing piece. But the mahogany board on top pulls it all together, and it looks like it grew here, like a tree. There is a bread board and the pull on that is amazingly beautiful. The rest of the hardware is replacement, I'm guessing, and matches most of the existing hardware in the house.
It washes up nicely. As I wash it, I notice the layers of paint. It was originally varnished, oak, perhaps. Above that 3 layers of paint, yellow, then green, then blue. I recall a magazine article where a woman painted new cabinets in two layers and then sanded, hammered and otherwise distressed the cabinets to reveal both layers of paint and make the cabinets look old. Mine already look old. I wonder if I lightly sand the places where the paint is chipping away, whether I'll get a cooler, more finished look. Yellow, blue and green are a nice color combination, and the cabinets and woodwork don't really need to be repainted, but they just seem a bit faded. Maybe some purposeful distressing would bring them back to life. It occurs to me to wonder if my callous remover, which is made of some sort of volcanic rock, would do the trick.
But at the moment, I'm beat. That's all for another day. I dump out the murphy's oil soap. Then comes the best part. Some unpacking. The first thing to come to light is an ancient children's tea set that my sisters and I found up in the attic in our home in Ohio when I was maybe in 4th grade. It's not complete. Just four blue glass eight-sided plates, two smaller yellow eight-sided plates, a green cup and a blue top, driftwood from an unsurviving sugar bowl most likely. They've always felt a bit mysterious, from another time. Whose were they. How did they come to be left in the attic. Did some girl leave them behind unintentionally, or did she grow up, left home without them, and her parents moved, leaving them behind for us to find and play with. I place them in the place of honor -- where a normal sized plate would be, behind the plate rim. Then I unpack my great-grandmother's tea service, carefully arranging it a few shelves up. Then my little harum-scarum collection of tea cups, tea pots and espresso cups.
Now I'm exhausted, hot and sweaty and trembling. I carry my rocking chair out to the porch and sit there, resting my head back.
Capel returns and vacuums up the dust in the dining room. Underneath is a beautiful, red maple colored floor. Much lighter than the part of the floor that was not covered all these years.
We go around closing windows and doors and drawing shades. And just before we leave, I take out Capel's handmade toy elephant, complete with umbrella, and other curiosities for which I don't know the names. All I know is that this little creature has followed me around now for 3 years, and takes the first perch available. This one happens to be a little nook next to the fireplace.
I haul Capel back in to see. He smiles. It is a good day for us and Pugsley.