Showing posts with label leveling floor. Show all posts

Monday, October 8, 2012

March to the finish: Bathroom Renovation Project 21 - Tile and grout

This was the long, long day we laid the tile. I say "we" and this time I mean we. Every step of the way, sick with a cold. 


I also started thinking seriously again about color. Capel and I have a standing disagreement about color for this room. He wants to match the grey of the tile on the plaster wall above the beadboard. I want to match the cream color of the door and window trim with a very pale turquoise sky blue. So, at this point, there are dueling choices. I hung them both up on the wall, against the beadboard--here's one set (the pale grey on the right and the cream to its right):


And that was pretty much the end of the fun. So, here is the subfloor Dan laid the day before, and the now hard grey thinset that he floated in a few places to help level out the floor, where it wasn't possible to level up the joists:


The first step, then was to lay this backer board. It's called Durock. It's a good substrate for tile, and won't mold or mildew. It's also moisture resistant. Dan lays it dry over the subfloor, to fit the whole floor, like a giant puzzle, cutting out around the pipes as he goes.

We'll go back and cement it down with thinset, he tells me.

This was a hot and dusty job. Cutting it makes a lot of dust. And cutting in the angles around the pipes can be tricky.


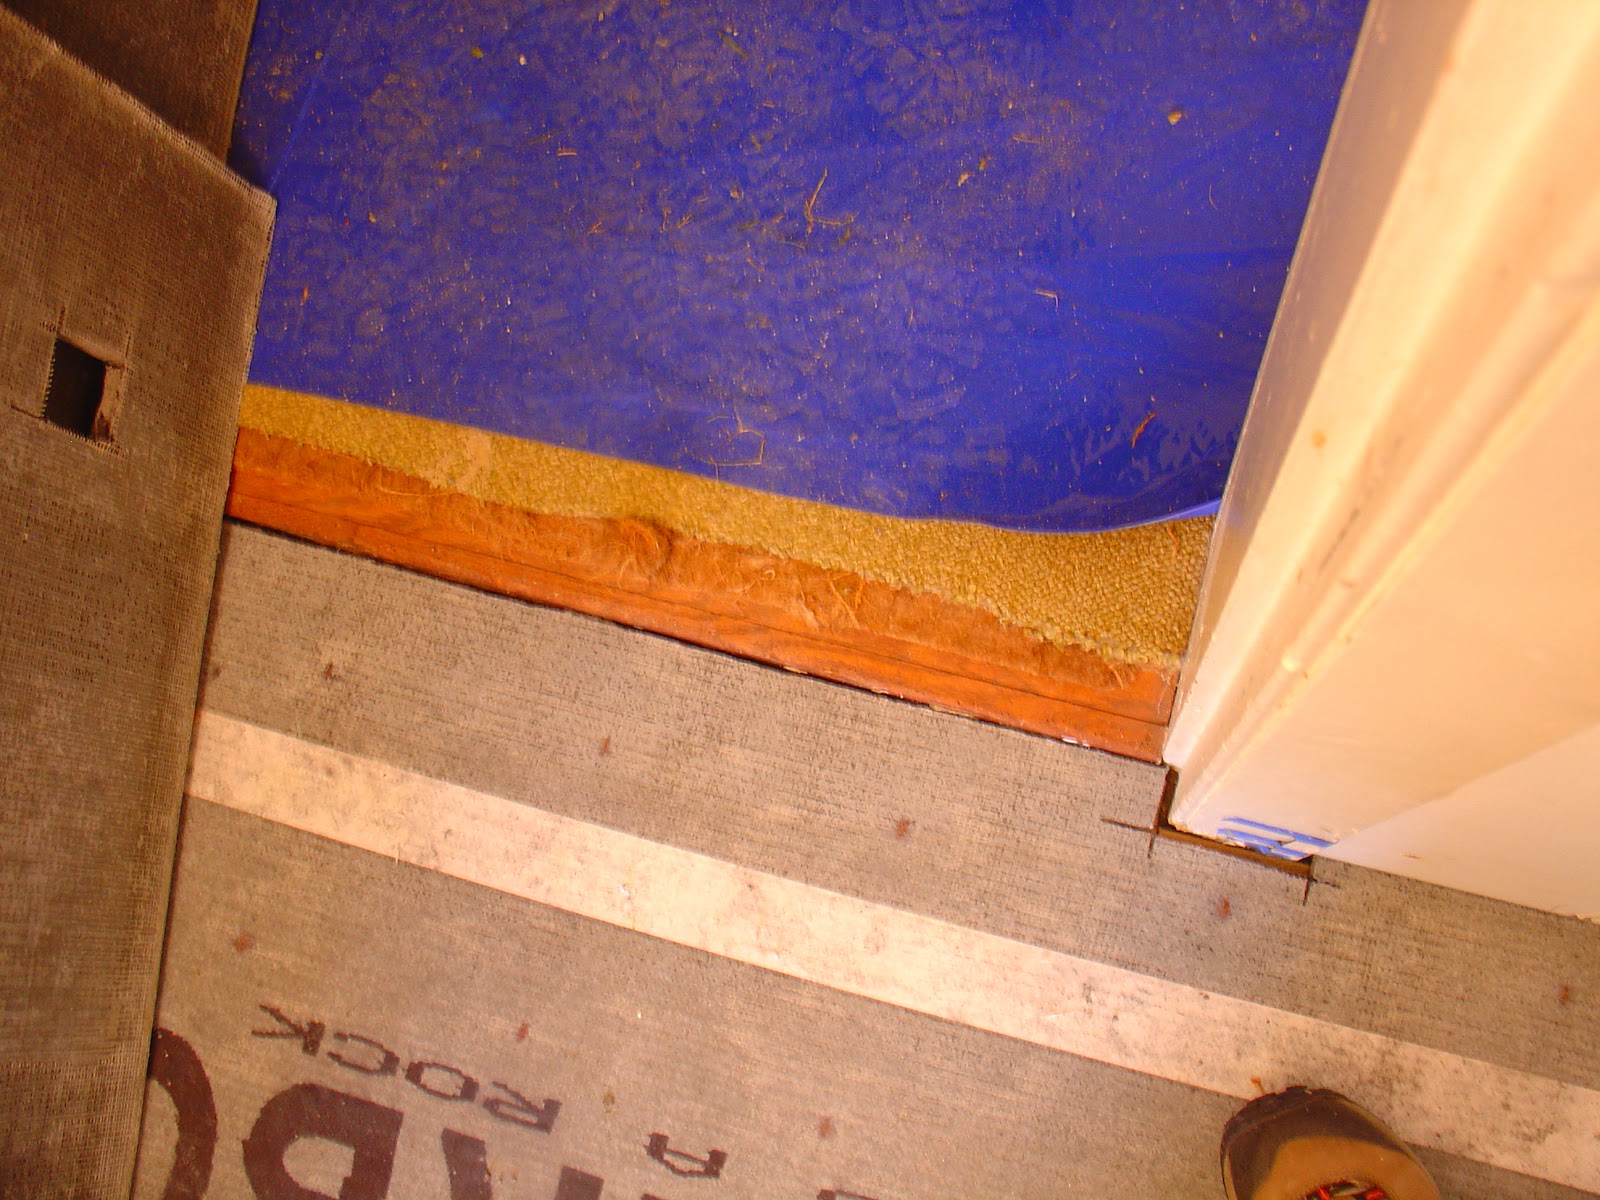
As we get to the door, Dan says, "So what about this carpet in the hall?" Finally! I think. It is time to take up the first bit of carpet. It is the ugliest, oldest, goryest carpet you ever saw. But it does a great job of protecting whatever is under it. And so I have patiently waited an entire year. "It's gone the minute you go," I say.

"No time like the present," he responds, and starts cutting away. I'm a little nervous that there might be a layer of plywood down there, but in fact, as I hoped, it is a light colored, very thin slatted oak. Very pretty. 

"Fabulous!" I say.

Then its back to work, putting down the thinset under each piece of Durock. It's hard work. Dan lets me do one small bit, and it's heavy, like sludge, and has to be scraped along into just the right thickness.


Then, when the whole floor is reset, all of that is nailed down with galvanized roofing nails.


Finally, after a bunch of vacuuming up dust and grit, some lunch and a very short break, we're back at work, this time with tile. Dan lays a straight light across the exterior wall--the back of the room, and then measures a center line across the center of the room. 

"We'll try to stay even," he says, making no promises. As he goes, he cuts out tiles around the pipes and lays the cut outs down next to the holes. He'll go back at the end and cut in all the bits.


This part goes fast, and the rows line up even. It's pretty amazing to see a white tile floor there, where there was basically 1920's linoleum.


When we get to the intricate corner, we lay it out dry and then put it onto a piece of plywood, like a puzzle, while we put down the thinset.


By this point, Dan has been working pretty much 48 hours with just a break for a shower and some sleep, with a head cold. The pile of tools in the hall starts to amuse us.


And, we're down to the last rows.


I get assigned another job--can't remember what--while he finishes up the very last bit by the door. When I come back upstairs, he's done. And wonder of wonders, it lines up just as even at the front as it was at the back.

"What are the chances of that?" he asks, amazed.


Then, that has to sit for a few hours. There are errands to run to the hardware store for supplies, and I make a last minute run to the tile store, thinking we might not have enough grout. Late that evening, we finally start grouting. I get the job of washing the sponges, and I'm so busy and tired, there is no more energy for photographs. The text will have to do.


Friday, October 5, 2012

March to the finish: Bathroom Renovation Project 20

We've been waiting for the plumbing inspection, and today is the day. I figure I'd better snap any last shots underneath the floor, as the subfloor is all ready to go down the second the inspector leaves. 

In the shot below, you can see how the joists have been topped up with 2x4s to make the floor somewhat more level. The toppers on the right are thicker than those on the left, to bring up that NW corner of the room where the tub will sit:


I also take several last shots of the plumbing, partly because it's so pretty and partly for future reference.


Then I go off to work on my own day job downstairs while Dan starts hanging beadboard on the walls.


Every time I come up, he's got a little more done. Until, one time I come up, and he's not only got the beadboard on the exterior wall, he's removed the trim from the window. I wanted to see that, but someone's got to work around here.


 Finally the inspector came, and then went, and immediately the floor went down and Dan spent most of the rest of the day piecing out the floor.


Here you can see the most intricate corner:


Then he finished the leveling by floating the floor along south wall with a layer of this grey stuff. I'll have to ask him exactly what it is. By this point, it was late and dark. Dan was well and sick with a cold. Everyone was getting some sort of cold. But this was nothing compared to the next day . . .


Last, by this point, late at night he finished putting up the beadboard, which I shot the next morning:


The room is really starting to take shape.


Saturday, September 29, 2012

Day Four: Bathroom Renovation Project 11 - water lines

A lot of progress on Tuesday, though I wasn't around most of the day. Here we see the continued process of leveling the floor. Here, a 2x4 cut and nailed to the top of a joist at the level of the new floor:


And all the water lines put in. So elegant, compared to the rat's nest that we took out.


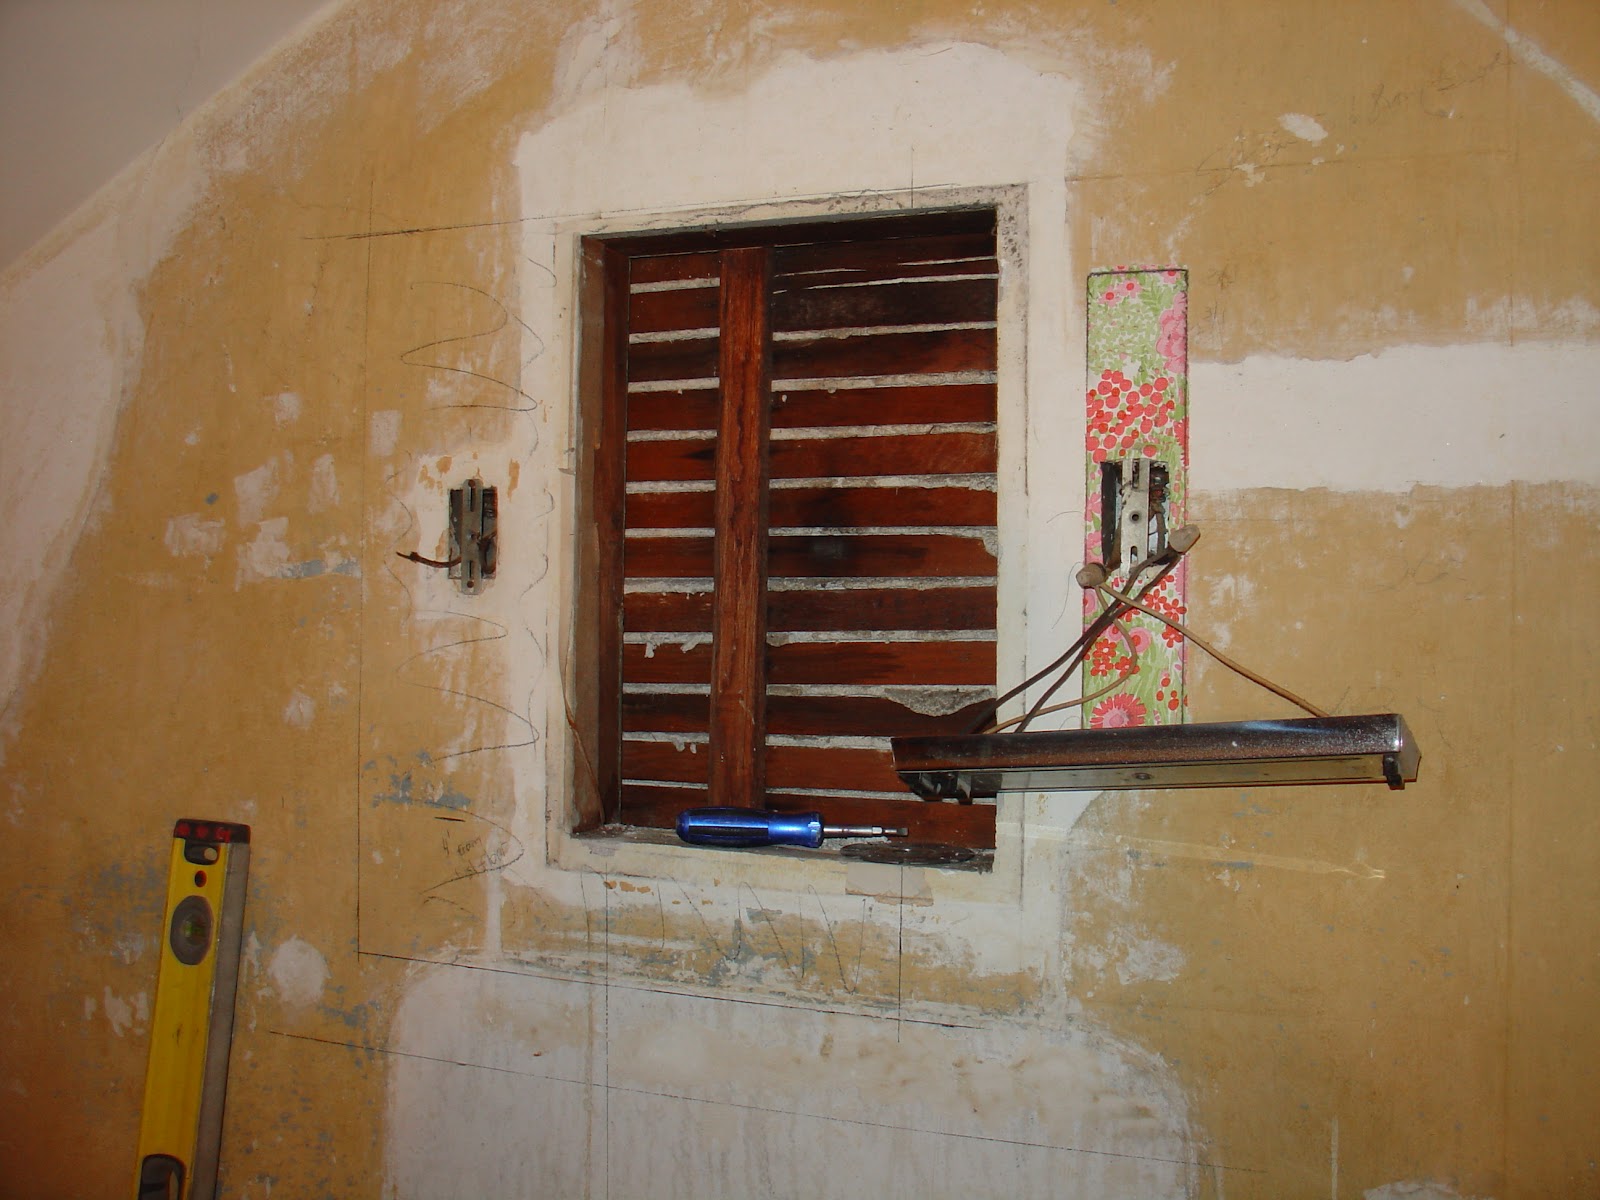
And last, the medicine cabinet came out, and the position of the new one drawn in on the wall just left of it.


A full day's work.


Friday, September 28, 2012

Day Three: Bathroom Renovation Project 10 - eensy teensy spider

So, first order of business Day Three. Stabilize the beam. We've decided to splice plate it, which you can see below. I did some reading in the middle of the night when I couldn't sleep. I've got a book, Renovating Old Houses. It's pretty good. It suggests that if a beam has an old split that isn't getting worse, best to leave it. If it's getting worse, it should be stabilized. Depending, it could be drawn together, but that's not always better, because the wood has a tendency to get used to its shape. Splice plates, it suggests -- which also happened to be Dan's first suggestion. So, after we all sleep on it, and then read the book and look at everything again, we agree on splice plates.

Also, because the the entire house has sagged a bit to the middle, the joists have been pulled out from the beam and are within a quarter to a half inch of falling out entirely, so we also reinforce the joists where they meet the beams in this area. 

I say we. I was at work.


So I'm at work Monday morning, and I get a call. Dan is so diplomatic. He doesn't say, "We have a problem." Has probably learned over the last decade never to start that way with a client. Instead, he tells me this and that, and we're having a pleasant conversation when it turns out that he's figured out why the wax ring on the toilet kept breaking and leaking. Oh, cool, I think. Another explanation for a vexing problem.

Turns out that while the whole house has sagged in the middle, the cast iron stack, which is rooted in the concrete floor of the basement, has not. And so now, the stack is higher relative to the floor than it used to be. And why is that a problem?  Again, not that Dan ever uses the word problem. Well, because it means that we can't get enough of an angle for the drain, especially since we're moving the toilet and tub a little further away from the stack.

I see it in my mind's eye. A tub that won't drain. Not my idea of a quality job.

So, Dan concludes, he's going to have to cut into the cast iron stack and install a Y lower down. I hear the uncertainty in his voice. Suddenly something he said the night before rings a bell. He's worried that the weight of the cast iron stack above the cut will be too heavy for the PVC Y.

"So, why don't you cut the stack and just pull everything out above the cut?" I ask. 

"Really?" He says, the relief in his voice palpable. Probably, though again he diplomatically doesn't say so, he never thought that conversation would be so easy. I've pushed back pretty hard on every attempt to exchange existing construction for something new or especially anything PLASTIC in this project.

"Yeah," I say. This one seems like an obvious decision to me, though I don't know why. Just an instinct. I certainly don't want the drain to give way one year after the floor is closed up and tiled over.

He sounded so relieved.

It was only later when I was in the middle of another meeting that I thought to worry about him up there on the roof trying to pull the damn thing out by himself ... but smart thing, he cut it in several places and only threw a third of it off the roof. "Made a nice dent in the yard," he comments, nonchalantly, that night.

So nonchalantly that I never thought to go investigate. Yikes! I think when I'm making my toast two days later and look out the kitchen window.

Yikes!


And double Yikes!!


But here is the new Y, in the coat closet access panel directly under the bath:


And the rest of the drains, also showing how the problem joist has now been sistered and the ugly hole that cut nearly through it has been reinforced. The sister is higher than the joist, at the level of the new floor.


And why is it a "sister"?  I wonder, writing this. Sisters and brothers. Close, you know. It is a kind of reinforcement for the self. A reinforcement and a doubling that makes us stronger. Not unlike a good marriage. Tho different.

And a "template" of the tub, for placement. This isn't the footprint, it's the diameter of the top of the tub.


And the night before, he later showed me, while I'd been up on the first floor reading about split beams, he'd been up half the night reading the specs and temporarily putting together the freestanding plumbing for the tub. 


 It looks so cool. We're starting to see the thing come to life.