Showing posts with label replacing wood fence posts. Show all posts

Monday, July 29, 2013

Finishing touches: restoring/repairing an existing privacy fence

If you've been following along, you won't need this, but the last post on the fence was here.  I didn't get photos of Capel staining it, or putting the caps on. I'm not as good at documenting his work as my own, I'm afraid. In any case, here the caps are, having just been stained, a couple of weekends ago.


We looked into factory made caps, the kind with a little pyramid top, but we couldn't get the right size for our posts and they were unbelievably expensive. So for about $8 instead of $128, we bought a length of cedar and Capel cut and stained pieces to make the caps himself.

Then last weekend, he scraped and re-stained the old panels on the outside of the fence, because it was pretty worn. 

And, ta-da, the fence is back!


We didn't re-stain the inside. I like the lichen-y look and the inside is not nearly as worn as the outside. Here, the old pink climbing rose I planted the month we arrived. And next to it, a new salmon colored climbing rose to grow up beside it. The plan is to train them along the top of the fence, spilling out over the top to the outside ...


Someday, we'll have a little hut for the garbage, but until then, at least it's not impinging on the neighbors' front yards. We're happy. They're happy. And the new fence posts are as solid as a rock--literally. This method of setting the posts is amazingly good (see this post for details). 

We're both a little shocked and amazed we could do this ourselves. Guess we're not quite newbie DIYers any more. 

Sunday, July 14, 2013

Repairing/Restoring Privacy Fence--replacing posts but not fence panels

Like all good DIY stories, this story, which started with a sad beginning (see here)--hapless DIY'ers start on a project that seems endless, herculean and filled with impossible obstacles--now, finally, has taken a turn for the better. Happy endings are in sight!


Quick review. Small privacy fence shown here performs necessary task of screening patio from the street, cars from the patio and yard, and garbage and wood pile from the neighbors.


Blows down in a hurricane. Turns out the middle posts are rotted through and cannot be saved. Only one fence panel remains standing, and that one leans precariously.


But true to their DIY souls, Sherry and Capel are not about to pay to replace the entire fence. They're sure the panels are still totally good for another 30 years, at least. Into the garage go the fence panels for the winter. And there they rest through the spring and early summer.


There is much procrastination, because now, two years into DIY home ownership, there seem to be more projects than initiative. And so it goes. The months tick by. March. April. May. Lots of gardening and no initiative for repair work.

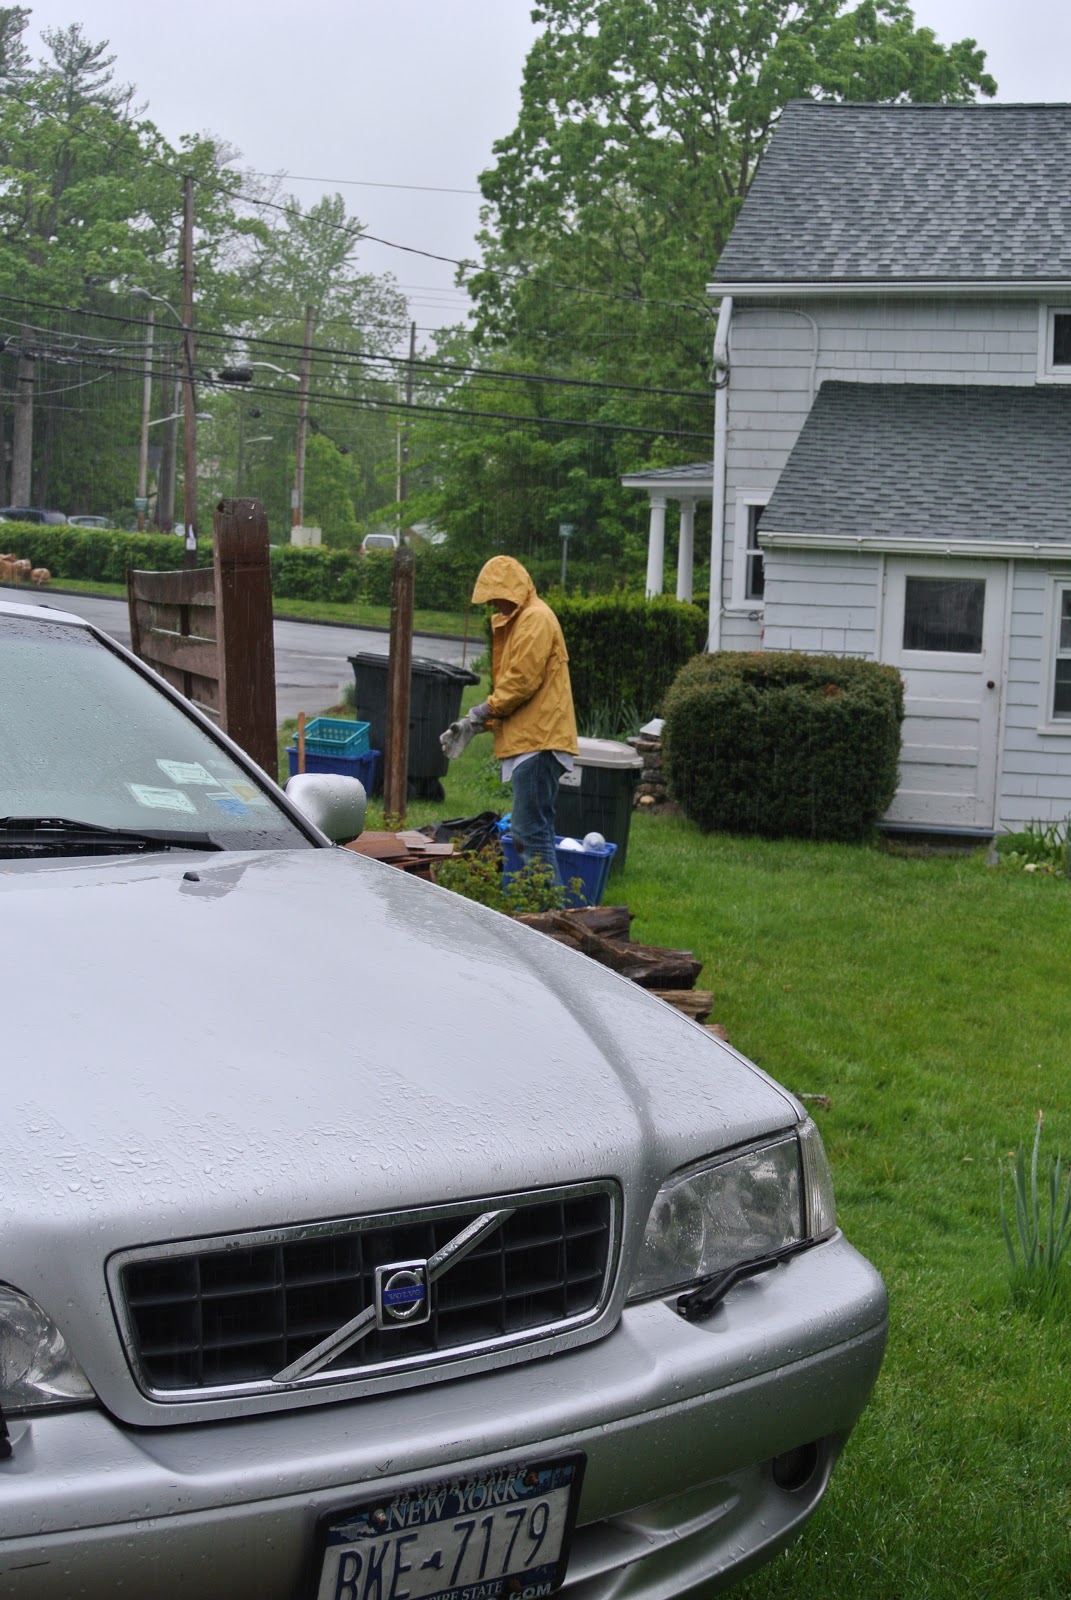
After one discouraging attempt on a misty rainy day in May (recorded in the above link) ...


... they hit concrete and give up again.


Hopeless. It's hopeless. They're both hopeless. Everyone is hopeless. And so the fence sits, and the record breaking rain pours all through June, the desolate yard and garbage and woodpile growing ever more and more unsightly, until as the rain clears up and the weather heats up, our two heroes, having taken to the patio in the evenings to cool off, are forced to stare at the ugly gaping lack of fence, and finally, finally, the inevitable cannot be avoided. Even Capel cannot procrastinate one minute longer. Sherry cannot pretend that the gardening is more urgent. And so, on their first real beach day in July, in a meeting of the minds, they agree the inevitable cannot possibly be put off any longer. The fence must be repaired.

They have learned one important coping strategy in the intervening fall, winter and spring. Some one person has to be project manager of a project. Otherwise--disaster! Capel likes the idea of fixing a fence. Sherry is just tired of projects, at the moment. So our man Capel forges into the lead. This is his project.

He researches. He calls. He calls again. Does more research. Looks at lots of YouTube video. Finally, a solution is arrived at. A lumber company up north carries 5X5 pressure treated lumber. This is the right dimension. They're 8' long though, so trimming will be required. Which requires a new tool. The new tool warms Capel's little heart. The project heats up.

The posts will be rooted in quick setting concrete mixed directly in the post-hole in 5 gallon buckets with the bottoms cut out, placed on a bed of gravel. There is measuring, measuring and measuring. The posts come home in the Volvo pick-up truck. Then the gravel. Then the concrete. Separate trips because the Volvo pick-up doesn't have much hauling capacity. What, you say Volvo doesn't make a pick-up? Right, then, that would have to be the Volvo convertible.  Convertible pick-up!

Holes are dug. Stakes are driven. The posts are stained to match the original fence panels. And, finally, after months of literally imperceptible progress, there are visible results to photograph ...

The new post holes are dug 8" to 12" in back of the original fence, at least 2' deep, with gravel poured into the bottom and a 5 gallon bucket with the bottom cut out situated on the floor of the hole.


The first post--one of the middle posts, not an end--is trimmed to height, placed in the hole, leveled and then a bag of concrete is poured in after it and mixed in the hole. It becomes immediately apparent that each hole will take more than one bag of concrete. Another bag is dumped on top of it with more water. And then the post is braced and left to set up for an hour. When set, the first fence panel is attached to it.


Now, the second post--this time an end post--is trimmed to height, placed, set in concrete and then leveled and braced, like so:


Measurements are retaken, stakes and string double-checked.


Then the third and fourth post holes are dug and the buckets set.


Last, as a final check, another fence panel is brought out and placed up against the middle post, to make sure the measurements are correct for the placement of the third post. 

This is where things break down a bit. Despite careful staking and measuring with string, the third and fourth post holes are too far apart and the fence panel will not meet the third post, unless the hole is moved.


At this particular moment it is about 95 degrees in the shade, midafternoon on a blazing sunny day, and Capel has been working since early morning. After not too much urging, he agrees to call it quits. There is much cheering about how unbelievably rock solid the first fence section is.


Tuesday, May 21, 2013

Repairing Privacy Fence: Sad beginnings

This will be a story without a happy ending -- in the short term, anyway. During Hurricane Sandy, two sections of our three-section privacy fence blew down. Sunday, we started out on the job to repair or replace it, preferably repair.


Above, you see the one section still "standing" -- leaning, would be the more apt word. It's a short fence -- you're seeing it all (or, where it all used to be anyway), in the photo above -- but tho short, it is necessary, because it really does provide some privacy from the street for the backyard, and until we get a little shed for the trash cans, it screens our ugly garbage from the street.

One fence post was completely rotted out and blew over in the hurricane. The other, below, is leaning and while still attached to the section of fence, is also rotted away.


We, of course, as new homeowners and newbie DIYers, know nothing about fence posts or fences. So, here we go. 

We start by removing the screws that hold the fence panel to the leaning post. That is my sole contribution to the day. From there on, it's all Capel.

Oh, did I mention that it was drizzling, and we both got to try out our new waterproofs. That was perhaps the most exciting part of the day.


Turns out the posts were set in a ring of concrete. The post that blew down during Sandy was so rotted it was possible to dig the end of it out of the concrete hole, below.


The other one. Not so rotted. Doesn't look like it's coming up out of the concrete. But Capel digs a bit, anyway ...


Meanwhile, I make croissants, take photos of Capel doing all the work, and generally fool around in the garage, taking photos for future posts on the blog. Necessary work, I tell myself. While Capel digs ...


... and digs ...


Turns out, this post had much more concrete around it, probably a foot and a half of concrete down to the bottom of the post, which--I say to Capel--would be a bear to dig out, create a ginormous hole and then be impossible to lift. 


Decision, this fence post end is not coming up. 

So. Where are we? I'm starting to learn that the beginning of any DIY project is an assessment and then a bunch of research. Our assessment is complete, I'd say. We are not digging out the concrete. This means we'll be moving the fence back 6 or 8 inches further away from the street, which was our other option. We'd like a little more room on the street side of the fence, so, moving it back does fit one of our longer-term plans.

We'll need to source and replace all four posts. The fence panels are fine. Neither of us wants to replace the whole fence. So seeing as it was raining in earnest right about then, we took off for Home Depot and the lumber store around corner. Turns out lumber stores don't carry fence posts. So this week yours truly will be calling fence companies. I don't know if we can get replacements. If we can't we will probably buy 6x6's to make our own. 

Research says it's a toss up between cedar and pressure-treated wood. There seems to be a lot of disagreement about the best way to go there. I'll start by seeing what is available.

There does seem to be agreement that it is better to root the fence post in a gravel filled hole and then surround it with concrete, so that the water can drain away, rather than putting it in a solid bed of concrete. So that is our plan at the moment.